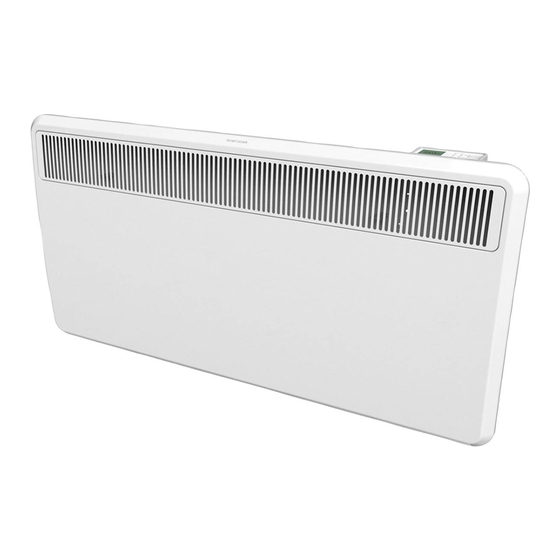
Dimplex PLX 750 Руководство по установке и эксплуатации - Страница 10
Просмотреть онлайн или скачать pdf Руководство по установке и эксплуатации для Электрический нагреватель Dimplex PLX 750. Dimplex PLX 750 16 страниц. Plx panel convector heaters
Также для Dimplex PLX 750: Инструкции по установке и эксплуатации (4 страниц), Инструкции по установке и эксплуатации (5 страниц), Инструкции по установке и эксплуатации (4 страниц)

5. Heater Operation
The heater controls are protected underneath a looking
cover. To open the cover, turn the look in clockwise di-
rection. Once the desired functions have been se-
lected, the cover must be locked again.
.
5.1 Heaters without timers
The power switch (0-I) is used to switch the heater on
and off. The off-position and off. The off-position is
identified by „0".
The switch marked I-II (except PLX500) provides a
choice of heat output: I half heat or II full heat.
Thermostat
Selector switch On/Off
5.2 Thermostat
The heater is fitted with an electronic thermostat by
means of which the room temperature can be con-
trolled by choosing a suitable setting. The ∗ setting cor-
responds to a room temperature of approximately 6 °C
(frost protection setting). Higher temperature settings
range from 1 to 6 max.
The neon indicator light shows when the appliance is
actually heating.
NOTE
NOTE
If you do not switch on your heater may have a cause,
that the slider of the thermostat is set at a lower
temperature than the current room temperature
ATTENTION!
Depending on room size, heat demand and
thermostat setting, rooms can be heated over a
silent heating. This may cause a danger to persons
who are not able to leave the room in case of
excessive temperature.
www.dimplex.de/en
PLX 500, PLX 750, PLX 1000, PLX 1500, PLX 2000TI, PLX 2500, PLX 3000
0
NDPGEP5RG · 07/14/B
5.3 Heaters with Timer
The heater is switched on by the slide located to the left
of the timer. In position
manually, i.e. without timer.
Position
means automatic operation, i.e. the con-
vector is switched on and off automatically by the timer.
The thermostat ensures a uniform room temperature
during the operation duration.
No heating operation takes place outside the pre-set
operating time (frost protection is also deactivated).
Setting the clock:
Rotate the timer's dial in clockwise direction until the
current time is aligned with the marking
Heater On: Push the appropriate segments out.
Heater Off: Push the segments in.
Each segment represents an on-or off-period of 20 min-
utes. For example, to set an operating duration of 2
hours, 6 segments need to be pushed outwards.
The timer can be programmed for several „On/Off" time
periods of varying lengths.
O
Thermostat
Selector switch Automatic/Off/Manual
6. Overheat Protection
The heater is equipped with an overheat protection for
your safety. If the air circulation is impeded, the heater
is switched off by the overheat protection. Once the
heater has cooled sufficiently, it will automatically
switch on again
In the event that the overheat protection trips re-peat-
edly, the cause of overheating must be determined,
e.g. air grille is covered or obstructed.
For maximum heat output it is essential that you keep
the air inlet and outlet openings free of dust. Clean the
heater with a vacuum cleaner before the start of the
heating season!
7. Malfunctions
If there is no heat output from the unit, please check
that the heater is switched on and that the thermostat is
set to the desired temperature. Subsequently check
the circuit breaker on the main service panel, or the
fuse, to ensure that they have not tripped or blown.
the convector is operated
.
Timer
EN-10
