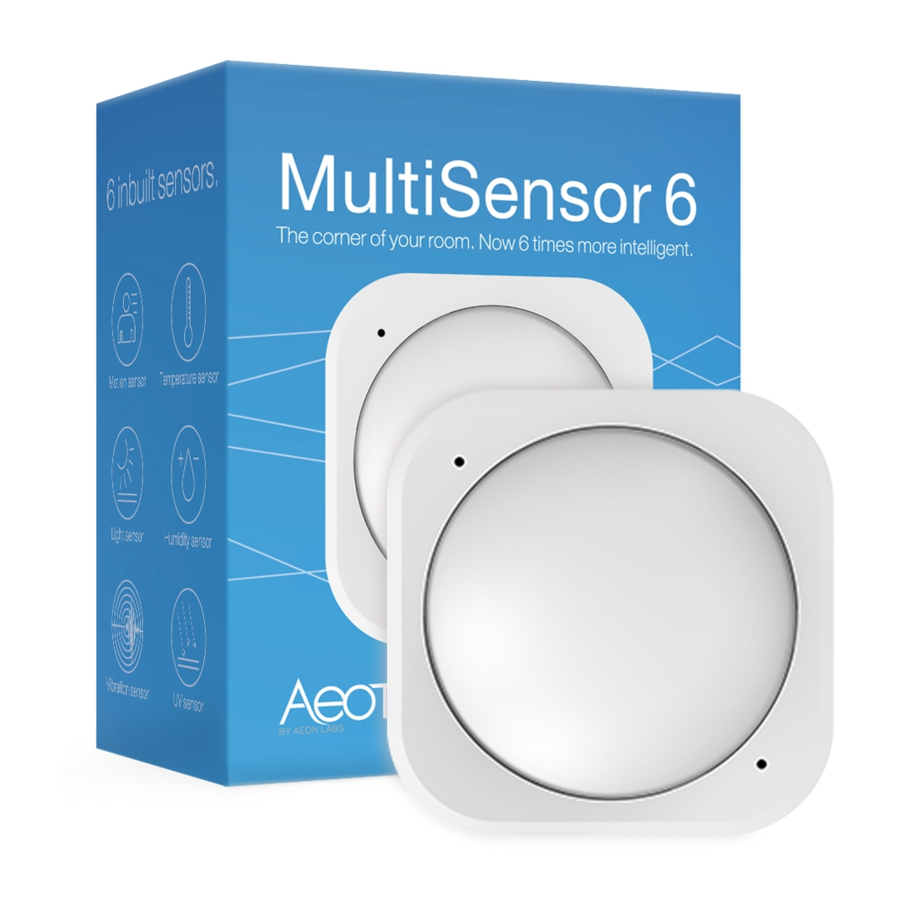
Aeon Labs Aeotec MULTISENSOR 6 Руководство пользователя - Страница 5
Просмотреть онлайн или скачать pdf Руководство пользователя для Аксессуары Aeon Labs Aeotec MULTISENSOR 6. Aeon Labs Aeotec MULTISENSOR 6 11 страниц.
Также для Aeon Labs Aeotec MULTISENSOR 6: Руководство (14 страниц)

2/26/2018
If installing MultiSensor 6 in a corner where the wall meets the ceiling it can take measurements within a 2.5 x 3.5 x 5 metres / 8 x 11 x
15 feet range:
For optimal performance, your MultiSensor 6 should NOT be mounted directly on or near metal framing or other large metallic objects.
Large metal objects may weaken the Z-Wave wireless signal MultiSensor 6 depends on for communication due to the wireless reflective
properties of metal.
Physically install your MultiSensor.
With your MultiSensor 6 now a part of your Z-Wave network and having determined its installation location, it's time to finish its physical
installation. There are 2 ways that your MultiSensor 6 can be mounted on a wall or ceiling. Most simply it can be placed upon a shelf
without the need to attach further accessories. You can mount your sensor in a corner or against a wall or ceiling by using the Back-
Mount Plate. It's also possible to embed your MultiSensor 6 within a ceiling or wall using its Recessor accessory (sold separately).
To install your MultiSensor 6;
Reattach the three parts of your MultiSensor to each other. Unlock the Battery Cover from the Sensor unit.
https://aeotec.freshdesk.com/support/solutions/articles/6000057073-multisensor-6-user-guide-
MultiSensor 6 user guide. : Aeotec by Aeon Labs
5/11
