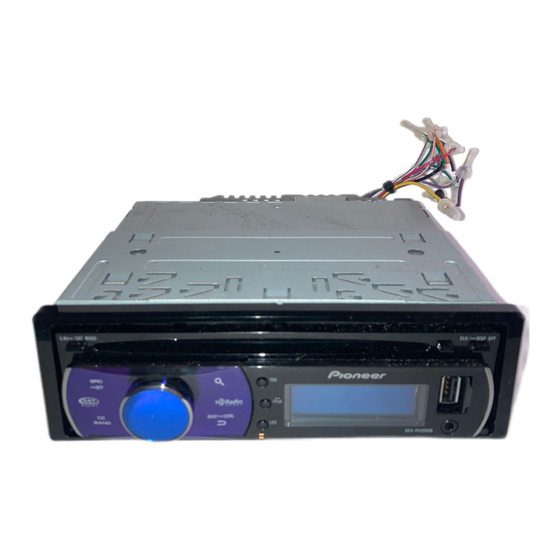
Pioneer DEH-5250SD Руководство по эксплуатации - Страница 6
Просмотреть онлайн или скачать pdf Руководство по эксплуатации для Автомобильный приемник Pioneer DEH-5250SD. Pioneer DEH-5250SD 25 страниц. Cd receiver
Также для Pioneer DEH-5250SD: Руководство по установке (8 страниц)

Section
02
Operating this unit
! Avoid subjecting the front panel to excessive
shock.
! Keep the front panel out of direct sunlight and
high temperatures.
! Remove any cables and devices attached to
this unit before detaching the front panel to
avoid damage to the device or vehicle interior.
Removing the front panel to protect your unit from
theft
1 Press the detach button to release the front
panel.
2 Grab the front panel and remove.
3 Always keep the detached front panel in the pro-
tection device such as protection case.
Re-attaching the front panel
1 Slide the front panel to the left until it clicks.
Front panel and the head unit are connected on
the left side. Make sure that the front panel has
been properly connected to the head unit.
2 Press the right side of the front panel until it is
firmly seated.
If you can t attach the front panel to the head unit
successfully, try again. However, forcing the front
panel into place may result in damage.
Turning the unit on
1 Press SRC/OFF to turn the unit on.
Turning the unit off
1 Press SRC/OFF and hold until the unit turns off.
Selecting a source
1 Press SRC/OFF to cycle between:
TUNER (tuner) CD (built-in CD player) USB
(USB)/iPod (iPod) SD (SD memory card) AUX
(AUX)
Adjusting the volume
1 Turn M.C. to adjust volume.
Note
When this unit s blue/white lead is connected to
the vehicle s auto-antenna relay control terminal,
the vehicle s antenna extends when this unit s
source is turned on. To retract the antenna, turn
the source off.
6
En
Use and care of the remote
control
Using the remote control
1 Point the remote control in the direction of the
front panel to operate.
When using for the first time, pull out the film
protruding from the tray.
Replacing the battery
1 Slide the tray out on the back of the remote con-
trol.
2 Insert the battery with the plus (+) and minus ( )
poles aligned properly.
WARNING
! Keep the battery out of the reach of children.
Should the battery be swallowed, consult a
doctor immediately.
! Batteries (battery pack or batteries installed)
must not be exposed to excessive heat such
as sunshine, fire or the like.
CAUTION
! Use one CR2025 (3 V) lithium battery.
! Remove the battery if the remote control is not
used for a month or longer.
! There is a danger of explosion if the battery is
incorrectly replaced. Replace only with the
same or equivalent type.
! Do not handle the battery with metallic tools.
! Do not store the battery with metallic objects.
! If the battery leaks, wipe the remote control
completely clean and install a new battery.
! When disposing of used batteries, comply
with governmental regulations or environmen-
tal public institutions rules that apply in your
country/area.
Important
! Do not store the remote control in high tem-
peratures or direct sunlight.
! The remote control may not function properly
in direct sunlight.
