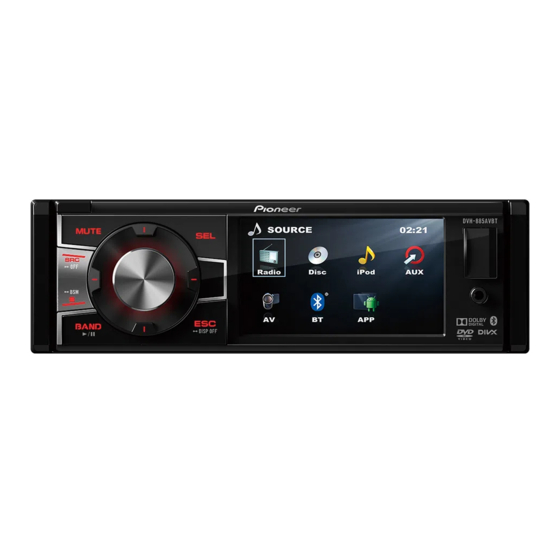
Pioneer dvh-885avbt Руководство пользователя - Страница 9
Просмотреть онлайн или скачать pdf Руководство пользователя для Приемник Pioneer dvh-885avbt. Pioneer dvh-885avbt 40 страниц.

Operating this unit
Basic operations
Important
• H a n d l e g e n t l y w h e n r e m o v i n g o r
attaching the front panel.
• Avoid subjecting the front panel to
excessive shock.
• Keep the front panel out of direct sunlight
and high temperatures.
• To avoid damaging the device or vehicle
interior, remove any cables and devices
attached to the front panel before
detaching it.
Removing the front panel to
protect your unit from theft
1 Press the (page 6,
down the front panel.
1
2 Grab the left side of the front panel, push
it to the right, then pull it out.
2
* The indicator light flashes after the panel
removed.
3 Always keep the detached front panel in
a protection device such as a protection
case.
Re-attaching the front panel
1 Grab the left side of the front panel, push
it to the right, then push it in until it clicks.
2 Press the upper left end of the front
) button to flip
• If you can't attach the front panel to the
Turning the unit on
Turning the unit off
Selecting a source
Adjusting the volume
1
Make sure that the front panel has been
properly connected to the main unit.
panel until it is firmly seated.
2
main unit successfully, try again. Forcing
the front panel into place may result in
damage.
Press [SRC] button to turn the unit on.
Press and hold [SRC] until the unit turns
off.
Press [SRC] to cycle between:
R a d i o ( t u n e r ) — D i s c ( w h e n d i s c
inserted)—USB storage device/iPod/
iPhone (when USB storage device/
iPod/iPhone connected)—AUX (AUX-
IN cannot carry out a source selection,
unless it turns ON AUX by Setting
menu.)—AV Input (AV-IN cannot carry
out a source selection, unless it turns
ON AV Input by Setting menu. )—BT
(Bluetooth)—APP
Turn [M.C.] to adjust the volume. Turn
counterclockwise to decrease and
clockwise to increase the volume.
Section
03
9
En
