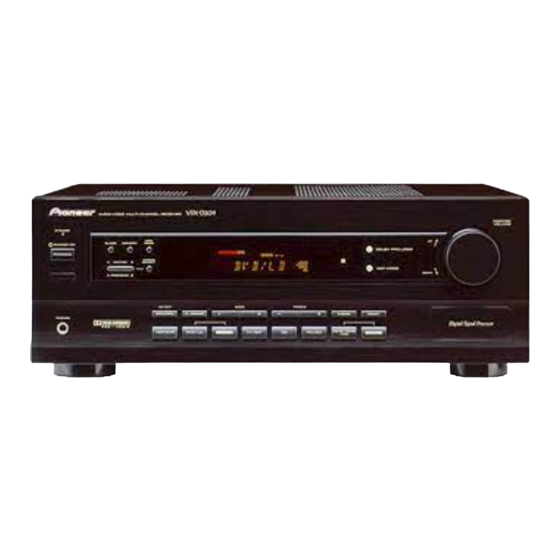
Pioneer VSX-D209 Руководство по эксплуатации - Страница 26
Просмотреть онлайн или скачать pdf Руководство по эксплуатации для Приемник Pioneer VSX-D209. Pioneer VSX-D209 32 страницы. Audio/video multi-channel receiver

Making a Recording
Making an Audio or a Video Recording
The following steps show you how to make an audio or a video recording from the built in tuner, or from an
audio or video source connected to the receiver (such as a CD player or TV). Recordings can be made to a CD-
Recorder, cassette deck, MD, VCR, or DVR deck connected to the CD-R/TAPE/MD, VCR or DVR in/out
connectors.
The receiver's volume, balance tone (bass, treble, S.bass), and surround effects (Dolby Pro Logic
memo
and DSP settings) have no effect on the recorded signal.
SOURCE SELECT
SOURCE
DVD
CD
TV CONT.
TAPE
MD
$
$
!
1
2
TV FUNC.
@
*
5
6
TV VOL.
EFFECT
9
0
D. ACCESS
TOP MENU
FQ
ENTER
TEST
TONE
FQ
2
SORROUND
DSP MODE
CH. SELECT
LEVEL
FL
RECEIVER
FUNCTION
DIMMER
1
AV MULTI-CHANNEL RECEIVER
REMOTE CONTROL UNIT
1
26
1 Press the FUNCTION button to select a
source to record.
All functions except MONITOR are accessible from the remote
control.
TUNER
On the receiver, select the source directly using the front panel
CD-R
buttons.
!
3
4
2 Prepare the program source.
&
#
7
8
CHANNEL
STATION
Tune to the radio station, load the CD, etc. For a video recording
load the video, DVD etc.
CLASS
MENU
3 Insert a blank tape, MD, video etc. into the
MPX
SET UP
recording device connected to either CD-R/
MUTING
TAPE/MD or VCR/DVR and set the recording
levels.
MASTER
VOLUME
Refer to the instructions that came with the recorder if you are
Î
unsure how to do this.Most video recorders set the audio recording
level automatically—check your video's instruction manual if you
are unsure whether yours has manual controls.
4 Start recording, then start playback of the
source component.
Record MONITOR
You can listen to (monitor) the recording as it's being made using the
MONITOR button on the Front Panel (a cassette deck would have to
have a record monitor function).
Press the MONITOR button to switch between the recorded signal and
the original source signal.
MONITOR
