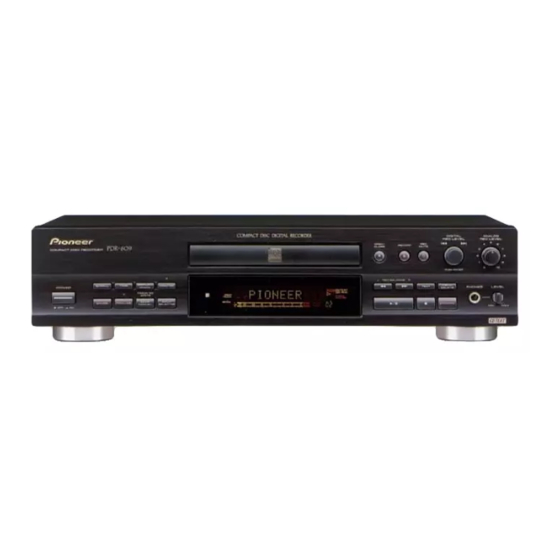
Pioneer PDR-609 Руководство по эксплуатации - Страница 34
Просмотреть онлайн или скачать pdf Руководство по эксплуатации для CD-плеер Pioneer PDR-609. Pioneer PDR-609 44 страницы. Compact disc recorder
Также для Pioneer PDR-609: Руководство по эксплуатации (44 страниц)

6 More recording features
AUTO/
•
REC SYNCHRO
MANUAL
TIME
ABC
DEF
1
2
3
DISPLAY
/CHARA
GHI
JKL
MNO
4
5
6
SCROLL
PQRS
TUV
WXYZ
7
8
9
1
MENU/
MARK
NAME
DELETE
10/0
>10
4
¢
CURSOR
3
1
¡
ENTER
7
REPEAT RANDOM NAME CLIP
8
FADER
PROGRAM CHECK
CLEAR
I
SKIP ID
NPUT
SKIP PLAY
SELECTER
SET
CLEAR
Î
2,3,4
DIGITAL
REC LEVEL
PUSH ENTER
ANALOG
L
REC BALANCE
R
MENU/
TEXT
DELETE
SYNCHRO
CD TEXT
Legato Link Conversion
1
2,3,4
DIGITAL
REC LEVEL
PUSH ENTER
ANALOG
L
REC BALANCE
R
MENU/
TEXT
DELETE
SYNCHRO
Legato Link Conversion
CD TEXT
1
AUTO/
•
REC SYNCHRO
MANUAL
TIME
A B C
D E F
1
2
3
DISPLAY
G H I
J K L
M N O
/CHARA
4
5
6
SCROLL
P Q R S
T U V
W X Y Z
7
8
9
1
MENU/
MARK
NAME
DELETE
10/0
>10
4
¢
CURSOR
3
1
¡
ENTER
7
REPEAT RANDOM NAME CLIP
8
FADER
PROGRAM CHECK
CLEAR
I
NPUT
SKIP ID
SKIP PLAY
SELECTER
SET
CLEAR
Î
FADER
34
En
Starting tracks in
time increments
If you aren't able to set track numbers
automatically during recording (a radio
program with interviews, for example),
2,3
you might want to have the recorder start
tracks after every three minutes or so. This
2,4
will make it easier to listen back to sections
of the recording at a later date. You can set
the time to one, three, or five minutes.
Note: The time increment will default to
when: recording is stopped; auto track
OFF
numbering is turned off; power is turned off.
ANALOG
REC LEVEL
Recording fade ins
and fade outs
Sometimes, for example if you're
ANALOG
recording just an excerpt from something,
REC LEVEL
it may be better to fade in the recording,
then fade out again at the end, rather than
start and end abruptly. You can also set
longer or shorter fade times so that they
match the fades on other songs in your
mix. Note that you can't record a fade in
when in synchro recording mode
(although you can record a fade out).
Setting the fade length
1
Press MENU/DELETE.
2,3
2
Turn the jog dial until FADER
appears in the display, then
2,4
press to ENTER.
Use the jog dial (4 and ¢
3
on the remote) to set the
length of the fade (in seconds).
Each turn will take you forward (or back)
one second. The default is 5 seconds.
4
Press the jog dial (ENTER) to
confirm the new fade length.
1
When the recorder is stopped,
press MENU/DELETE.
Turn the jog dial (4 and ¢
2
on the remote) until T. INC.
appears in the display, then
press to ENTER.
The display shows the current time
increment: one, three, five minutes, or
. The default is
.
OFF
OFF
Turn the jog dial (4 and ¢
3
on the remote) to change the
time increment.
4
Press the jog dial to ENTER.
Recording a fade in
•
With the source playing, press
FADER during record-pause
mode to fade in. Recording
starts with a gradual fade in.
Recording a fade out
•
Press FADER during recording
to fade out.
After recording the fade out, the recorder
goes into record-pause mode. This
happens in either normal or synchro
record mode.
• You can also just press 7 if you don't
need a fade out.
If you record a fade out during all-track
sync mode, the synchro mode is canceled
after the fade out (see pages 19–21 for
more on synchro recording).
Note: If the recorder runs out of
recording space on the disc before the
source has finished, it will automatically
record a fade out and stop recording.
