Pioneer PRV-LX1 Руководство по программному обеспечению - Страница 13

Просмотреть онлайн или скачать pdf Руководство по программному обеспечению для DVD-плеер Pioneer PRV-LX1. Pioneer PRV-LX1 24 страницы. Dvd-video recorder
Также для Pioneer PRV-LX1: Информационный бюллетень о продукции (5 страниц), Быстрый старт (5 страниц), Дополнительное руководство (1 страниц), Руководство по командному протоколу (20 страниц), Руководство по протоколу (14 страниц), Редактирование списка решений (6 страниц), Техническое обслуживание (5 страниц), Информационный бюллетень о продукции (6 страниц), Руководство по эксплуатации (38 страниц), Руководство по обновлению (2 страниц), Обновление системы (10 страниц), Обновление системы (10 страниц), Учебное пособие (38 страниц), Руководство (38 страниц)
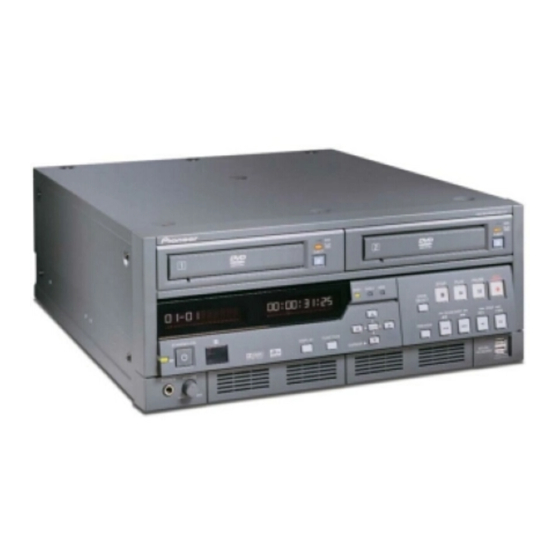
Pioneer PRV-LX1 Руководство по программному обеспечению
Examples of buttons with Color 2 and Color 3 applied from the chart above:
(Color 2)
(Color 3)
Note: The higher the contrast number, the stronger the highlight color on the menu.
Follow the steps below to manipulate the values assigned in the Color Table layer.
1.
Verify that the Color Table layer is the top layer.
The final stacking order from top to bottom is Color Table, Text Area, Thumbnail
Mask, Thumbnail Area, Button Mask, Button Image, Button Area, Highlight Area (or
Subpicture) and Background.
2.
Clear the white, filled area from the layer that surrounds the color table.
If using a Sample Layout (psd) file with a white bar, clearing the white from the
surrounding area also erases the white color bar. Use the Rectangular Marquee
tool to fill the color bar area before proceeding.
3.
Select a cell (20 pixel x 20 pixel) to change the color or to adjust the contrast level.
Contrast levels must always be a shade of gray.
4.
Continue making adjustments to the cell colors until all changes are complete.
5.
Refill the layer around the color table with white (255,255,255).
6.
Use the colors from the Color Table to mark areas or shapes on the Highlight Area
(Subpicture) layer.
7.
Reduce the PSD file from 720-pixels x 540-pixels to the DVD standard of 720 x 480.
To retain round shapes in a custom DVD menu, reduce the file to 720 x 480. The
file appears squeezed on a computer monitor because PCs have square pixels but
NTSC and PAL displays, including consumer televisions, have round pixels.
8.
Save your Photoshop file.
11.0
C
M
ONVERT
ENU FROM
Once the Photoshop (psd) layers are complete, the file needs to be processed by the PRV-LX1
DVD Menu Maker application. The application splits the layers in to files that can be imported in
to the PRV-LX1, creating a single DVD Menu layout. Before processing the Photoshop file,
read the following guidelines:
• Place PRV-LX1 DVD Menu Maker
• Create a folder on your computer hard drive that will hold the files generated from the
application. The folder can be any name but must be empty before you begin.
• Folders names should be short in length and may not include any spaces.
(Normal View)
P
U
HOTOSHOP
SING THE
(
Page 13 of 24
PRV-LX1 DVD Menu Maker
(Roll-Over Select)
PRV-LX1 DVD M
ENU
)
on your PC desktop for easy launching
(Activate)
M
AKER