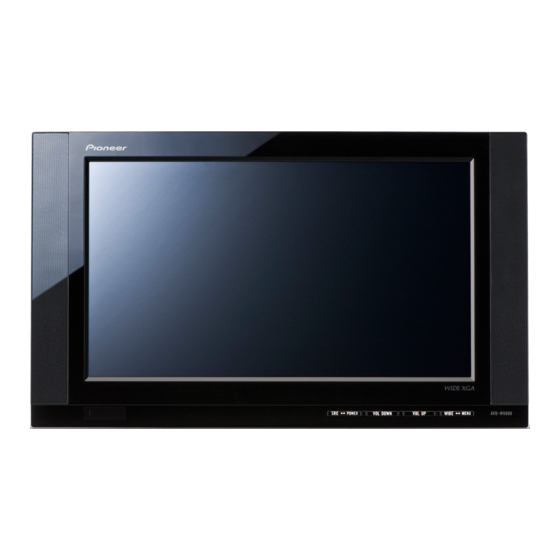
Pioneer AVD-W9000 Руководство пользователя - Страница 5
Просмотреть онлайн или скачать pdf Руководство пользователя для Монитор Pioneer AVD-W9000. Pioneer AVD-W9000 44 страницы. 9 inch wide xga display

Before You Start
About this unit
CAUTION
! Do not allow this unit to come into contact
with liquids. Electrical shock could result.
Also, damage to this unit, smoke, and over-
heating could result from contact with liquids.
! Keep this manual handy as a reference for op-
erating procedures and precautions.
! Always keep the volume low enough so that
you can hear sounds from outside the vehicle.
! Protect this unit from moisture.
Visit our website
Visit us at the following site:
http://www.pioneer.eu
! Register your product. We will keep the de-
tails of your purchase on file to help you
refer to this information in the event of an
insurance claim such as loss or theft.
! We offer the latest information about
Pioneer Corporation on our website.
In case of trouble
Should this product fail to operate properly,
contact your dealer or nearest authorized
Pioneer Service Station.
To protect the LCD screen
! Do not allow direct sunlight to fall on the
display when this unit is not being used.
Extended exposure to direct sunlight can
result in LCD screen malfunction due to
the resulting high temperatures.
! When using a cellular phone, keep the an-
tenna of the cellular phone away from the
display to prevent disruption of the video by
the appearance of spots, colored stripes,
etc.
For viewing the LCD
comfortably
Due to its construction, the viewing angle of
the screen size is limited. You can adjust it by
changing either screen size or picture adjust-
ment.
Changing the wide screen size
By changing the screen size from 4:3 to 16:9,
you can adjust the screen so that the screen
can fit to the video image you are playing.
For details concerning operation, refer to
Changing the wide screen mode on page 9.
Changing the picture adjustment
You can make the best adjustment to the pic-
ture display by the BRIGHTNESS, CONTRAST,
COLOR, etc. You can also dim or brighten the
overall picture the DIMMER.
For details concerning operation, refer to
Changing the picture adjustment on page
10.
Installing and removing
the display unit
The mounting arm described below is sold se-
parately. For more information on the installa-
tion, refer to the mounting kit owner's manual
or consult your nearest dealer.
Section
02
5
En
