Ariston AURES MULTI Руководство по установке и эксплуатации - Страница 6
Просмотреть онлайн или скачать pdf Руководство по установке и эксплуатации для Водонагреватель Ariston AURES MULTI. Ariston AURES MULTI 13 страниц.

EN
OPERATING INSTRUCTIONS
1.
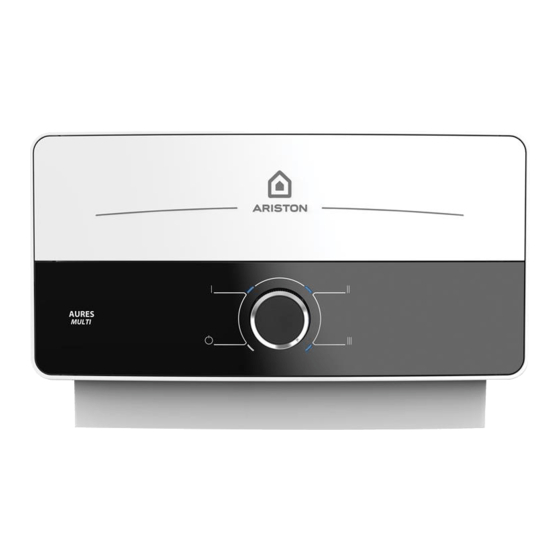
Your new Instant Water Heater is flow activated. Regulate the knob in one of the 3 setting power (I, II,
III) the product will switch ON once the hot water tap is turned on, the heating element will work and
warm the water only when there is a flow of water through the appliance.. You will need to allow at least
2.1 litres per minute to flow through the unit in order to activate the Instant Heating System. Run water
through the heater for a few minutes.
2.
Be sure to every so often clean the spray head to assure a smooth water flow.
3.
Be sure to every so often clean the incoming water filter.
4.
Be sure to install your Instant Water Heater in a heated location. The appliance cannot be installed in
areas where the temperature may drop critically and there may be a risk that ice may form.
5.
The user can adjust the hot water temperature regulating the setting power on the unit. the user can
choose from 4 different power settings:
- O - Heating element is off
- I - Only the 1st Heating element switches on.
- II - Only the 2nd heating element switches on.
- III - 1st and 2nd heating elements switch on, working together.
INSTALLATION REQUIREMENTS
A.
A separate electrical supply is required.
B.
The device must be connected to a separate circuit breaker.
C.
The recommended electrical cable for supplying the device, see table I (next page)
INSTALLATION
See electrical diagrams at the end of the booklet.
WARNING!
BEFORE BEGINNING ANY WORK ON THE ELECTRICAL INSTALLATION BE SURE
THAT THE CIRCUIT BREAKER IS IN THE "OFF" POSITION TO AVOID DANGER OF
ELECTRICAL SHOCK
Correct Installation
Outlet
Inlet and
outlet at
the bottom
ATTENTION
The water inlet of this appliance must be connected directly to a cold water mains supply.
Inlet
6
