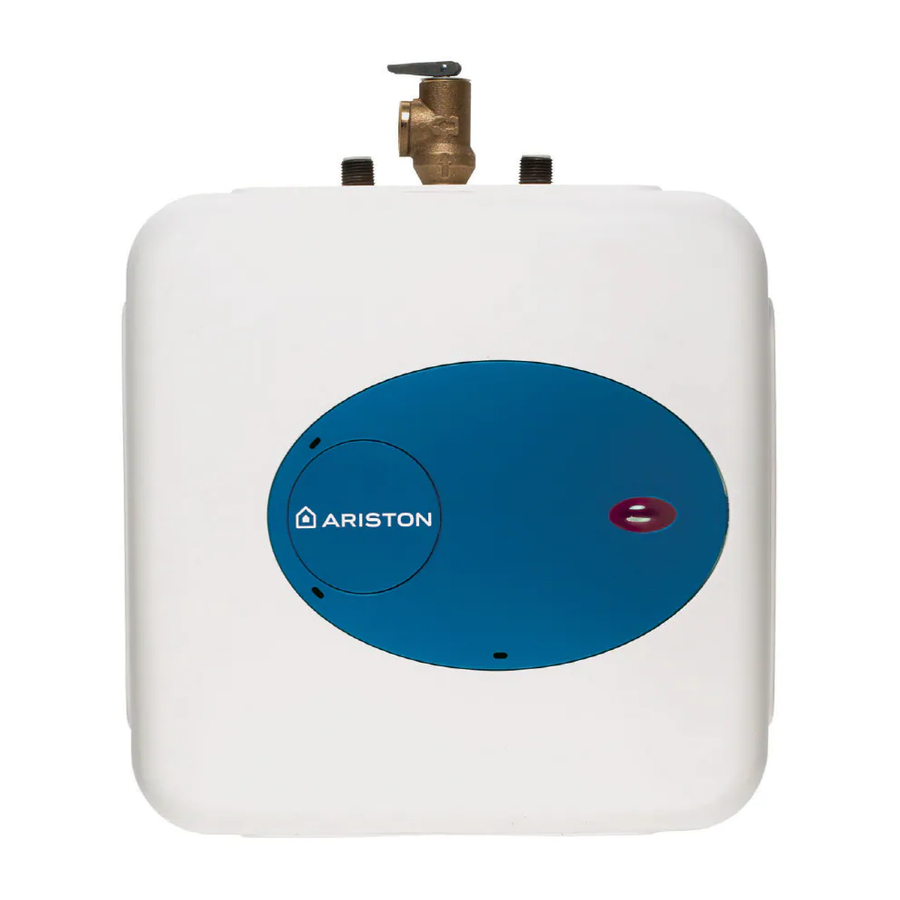
Ariston GL 4 Руководство по установке - Страница 10
Просмотреть онлайн или скачать pdf Руководство по установке для Водонагреватель Ariston GL 4. Ariston GL 4 14 страниц. Electric mini tank water heaters
Также для Ariston GL 4: Руководство пользователя (12 страниц), Руководство пользователя (12 страниц), Руководство пользователя (14 страниц)
Changing
1. Turn off power supply and drain the heater (see Draining the Heater).
2. Remove the heating element (see section on Removing the Heating Element).
the heating
3. Install new element with gasket, making sure the gasket and element are positioned
element
4. Refill tank with water before restoring power.
1. Turn off power supply.
Changing
2. Disconnect the 2 push/pull type wires on thermostat.
the
3. Loosen the two brass screws at right side of thermostat and pull wires out.
thermostat
4. Unscrew and remove the two phillips screws holding the thermostat down.
5. Install new thermostat and re-attach wiring and screws.
Resetting
Occasionally, the high temperature limit shut off device may trigger and shut the
system down. This occurs when water temperature exceeds 190° F and shuts off
High Limit
power to the heating element. The shut off device may also trigger from a power
Switch
outage or electrical storm.
To reach the thermostat:
1. Pry off the round cover plate (V Fig. 3/1) from its right hand edge (W Fig. 3/1) with
2. Remove the Phillips screw revealed beneath the round cover plate.
3. The cover (C Fig. 3/1) can now be removed by pulling out its left-hand edge. When
4. Firmly press reset button (B Fig. 4). Reconnect power.
5. IMPORTANT: Check the operation of the thermostat, turn temperature dial from
6. If the system works, place dial setting to desired setting. Note: a lower setting is
CAUTION: Call a technician if the high limit needs to be reset frequently.
Troubleshooting
Water does
1. Make sure the power supply is on and working.
not get hot
2. If light does not come on, check that the reset button is pushed in; follow steps from
3. If the indicator light works properly but temperature does not get hot a tap, test for
4. Replace heating element (see previous section on changing the heating element).
Light not on
1. If the light does not come on, but water gets hot, check for faulty bulb.
2. Check reset button; follow steps from previous section.
Brown water
1. Brown or rusty water indicates a "spent" anode rod. Replace anode rod.
Odor in water
1. Smelly water could be due to an unusual reaction between local water and the
Water is too
1. Remove cover plate and turn the temperature selector dial (D Fig. 4) counter
hot
Water not
1. Adjust the temperature selector dial (D Fig. 4) clockwise to increase temperature.
hot enough
Leaking
1. Check water fittings and T & P fitting on top of tank.
2. Remove front cover and inspect heating element gasket.
correctly. Tighten the retaining nuts and make the wire connections.
a small flat-head screwdriver.
reassembling, work in the opposite way being careful to insert the tongue of the
cover into the slot.
high to low, if the red light does not go off on low setting, turn off power supply and
call a service person to replace the thermostat.
more economical and reduces the risk of scalding. Replace cover plate.
previous section.
a plumbing crossover; shut off cold supply to heater and open hot water tap. There
should be no water flowing. Any continued flow indicates a crossover which will
effect the temperature and will need to be corrected.
heater's anode rod. Check anode rod (see section on changing the anode rod).
clockwise to lower temperature.
thermostat. (see section on changing the thermostat).
If temperature never lowers then replace
9