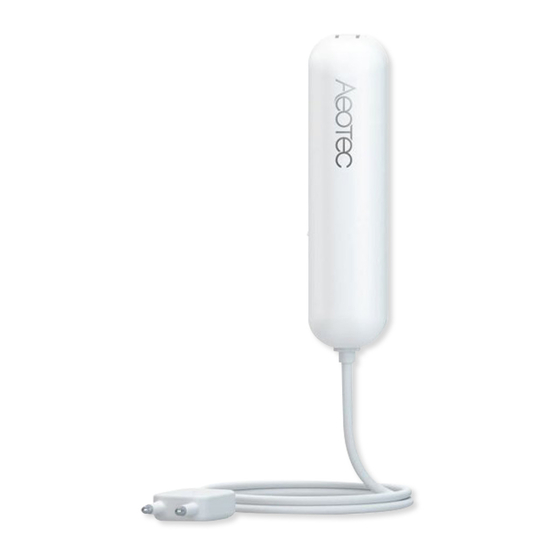
Aeotec Water Sensor 7 Pro Руководство
Просмотреть онлайн или скачать pdf Руководство для Аксессуары Aeotec Water Sensor 7 Pro. Aeotec Water Sensor 7 Pro 3 страницы. Water sensor
Также для Aeotec Water Sensor 7 Pro: Краткое руководство по эксплуатации (8 страниц), Руководство пользователя (9 страниц), Руководство пользователя (13 страниц), Руководство пользователя (14 страниц), Руководство пользователя (9 страниц)

Water Sensor 7 Pro
ZWA019
Used in this guide.
Artículos utilizados en este manual / Utilisé dans ce guide / In dieser
Gebrauchsanweisung verwendete Bezeichnungen / Usato in questa guida /
Gebruikt in deze handleiding / Används i den här handboken.
Sensing head
Cabeza sensora / Tête de détection /
Sensorkopf / Testa sensibile / Hoofd
detecteren / Avkännande huvud
PIN:12345
Main base
Probe
Main front
Double-sided
uint
Tape for Main
enclosure
base unit (x2)
Note:
QR Code used for SmartStart inclusion.
DSK Code can be found on packaging. Do not
remove or damage them.
Remarque: code QR utilisés pour l'inclusion
SmartStart. Le code DSK peut être trouvé sur
l'emballage. Ne les enlevez pas et ne les
endommagez pas.
Hinweis: Der QR-Code wird für die
Screws (x4)
Double-sided
SmartStart-Einbindung verwendet. Der
Tape for
DSK-Code ist auf der Verpackung zu finden.
Sensor Head (x2)
Entfernen oder beschädigen Sie diesen nicht.
Important safety information.
Please read this and the online guide(s) at
support.aeotec.com/ws7p carefully. Failure to follow the
recommendations set forth by Aeotec Limited may be
dangerous or cause a violation of the law. The manufacturer,
importer, distributor, and / or reseller will not be held
responsible for any loss or damage resulting from not following
any instructions in this guide or in other materials.
To optimally detect water and leaks, Water Sensor 7 Pro is
intended for use in dry locations that then become wet.
Contains small parts; keep away from children.
Optimally placing Water Sensor 7.
The main unit of Water Sensor 7 Pro should be placed in a dry
location. It should be mounted vertically on a wall above the
place where you wish to monitor for potential floods or leaks. It
is the sensor probe of Water Sensor 7 Pro that detects liquids,
so the sensor probe must be placed in such a way that any
liquid or water of the leak will come into contact with it. When
placing Water Sensor 7 Pro probes do also consider in which
direction any flood or leak may flow and where one may occur.
Ensure that both of the probe contacts will be able to detect any
leak or flood. Only when the 2 probe contacts come into
contact with a liquid, Water Sensor 7 Pro will send a leak alert to
your Z-Wave gateway.
Quick start.
The following will step you through installing Water Sensor 7 Pro
and connecting it to your Z-Wave
network.
TM
1. Press and hold the Latch on the larger sensor part and
separate the front from the back-mount plate and then pull
the case off completely.
2. Remove the Pull Tab to engage the sensor's pre-installed
batteries. The LED will flash red indicating that it is
powered on.
3. Add Water Sensor 7 Pro to your Z-Wave network;
a. If your Z-Wave gateway supports SmartStart: scan the
QR code on Water Sensor 7 Pro using the gateway's
app. Your sensor will join your Z-Wave network
automatically.
b. If your gateway does not support SmartStart;
i. Set your Z-Wave gateway into its 'add device' mode.
Refer to the gateway's manual if you are unsure of
how to perform this step.
ii. Press the sensor's Tamper Switch 3 times within 1.5
seconds; it is located on the lower right side with the
battery pointed forward.
iii. Now Water Sensor 7 Pro is joining your Z-Wave
network or its LED will blink green and red and then
joins your network.
iv. If pairing is successful, it will change to a green color
for 3 seconds before turning off.
If pairing failed, LED will flash red 3 times, it was
unable to join your Z-Wave network; repeat the step
or contact us for further support if needed.
4. After testing Water Sensor 7 Pro in your chosen installation
location, affix the main sensor's back-mount plate with
either the provided screws or double-sided tape.
Important. Make sure that the Water Sensor 7 Pro is
completely enclosed over the mounting plate, otherwise
the battery of your sensor will drain out within a few
days by remaining completely active.
