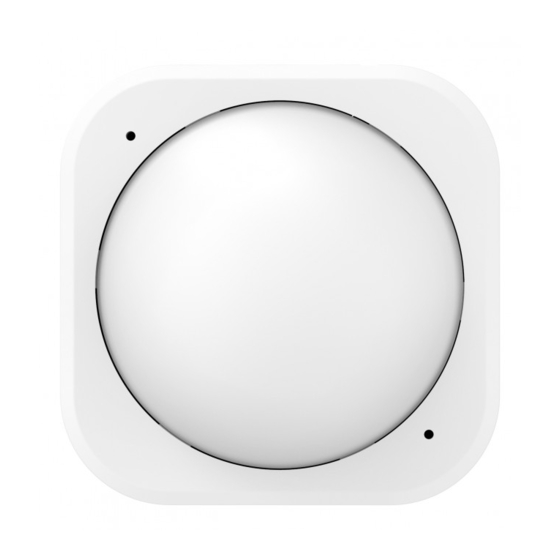
Aeotec MULTISENSOR 6 Руководство пользователя - Страница 5
Просмотреть онлайн или скачать pdf Руководство пользователя для Датчики безопасности Aeotec MULTISENSOR 6. Aeotec MULTISENSOR 6 13 страниц. Z-wave water and flood sensor
Также для Aeotec MULTISENSOR 6: Руководство (3 страниц), Руководство пользователя (8 страниц), Руководство (10 страниц), Руководство пользователя (13 страниц)

- 1. Resetting Your Multisensor
- 2. Add Your Multisensor to Your Z-Wave Network
- 3. Waking up Your Multisensor
- 4. Setting the Sensitivity of Your Multisensor
- 5. Monitoring Temperature, Humidity, Luminance and Ultraviolet
- 6. Monitoring Motion
- 7. Advanced Functions
- 8. Removing Your Multisensor from a Z-Wave Network
3V, 1500mAh).
Operating Temperature: 0 to 40 .
C
Measured Temperature Range: -10 to 50 . Accuracy: ±0.5 .
Humidity Range: 20%RH to 80%RH. Accuracy: ±5%RH (at 25 ).
Lighting: 0 LUX to 1000 LUX.
Motion Sensitivity: 3 meters to 5 meters.
Water Proofing: IP20.
Wireless Range: Up to 500feet/150 metres outdoors.
6
Warranty.
Aeon Labs warrants to the original purchaser of Products that
for the Warranty Period (as defined below), the Products will be
free from material defects in materials and workmanship. The
foregoing warranty is subject to the proper installation, operation
and maintenance of the Products in accordance with installation
instructions and the operating manual supplied to Customer.
Warranty claims must be made by Customer in writing within
thirty (30) days of the manifestation of a problem. Aeon Labs' sole
obligation under the foregoing warranty is, at Aeon Labs' option,
to repair, replace or correct any such defect that was present at
the time of delivery, or to remove the Products and to refund the
purchase price to Customer.
The "Warranty Period" begins on the date the Products is delivered
and continues for 12 months.
Any repairs under this warranty must be conducted by an
authorized Aeon Labs service representative and under Aeon Labs'
RMA policy. Any repairs conducted by unauthorized persons shall
void this warranty.
C
C
C
18
Quick start.
Setup your power.
C
C
Your MultiSensor can be powered by battery or by USB with
an appropriate adaptor. For the purposes of installation and
setup, even if you intend to power your sensor with batteries, we
recommend utilizing the provided USB cable for setup. For this,
you'll need an adaptor to plug your USB cable into, this can include
any USB port on a computer and most mobile phone chargers.
These steps can be performed in any location with your home, and
not necessarily in your MultiSensor's final installation location.
For a USB powered installation;
1. Remove the Battery cover via sliding the Unlock button and
separating the two parts of your sensor.
2. Insert the appropriate end of the provided Micro USB cable into
your sensor's USB port. Your MultiSensor is now powered on.
3
