3Com TOKENLINK VELOCITY XL PCI 3C359B Краткое руководство по эксплуатации - Страница 5
Просмотреть онлайн или скачать pdf Краткое руководство по эксплуатации для Сетевая карта 3Com TOKENLINK VELOCITY XL PCI 3C359B. 3Com TOKENLINK VELOCITY XL PCI 3C359B 8 страниц. 3com tokenlink 3c359b: quick start

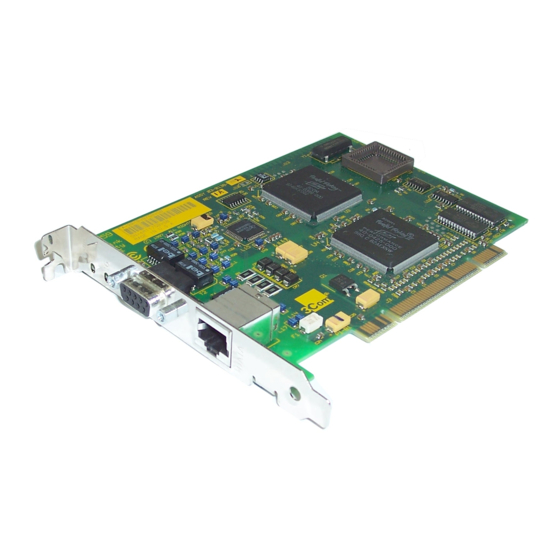
3 If your PC's motherboard has a Remote Wake-Up
cable connector and you want to use this feature,
perform the following steps:
a Insert the Remote Wake-Up cable included in your
package into the 3-pin connector on the NIC.
Your PC may conform to new PCI standards that eliminate
the need for a Remote Wake-Up cable to deliver power to
the 3C359B NIC. If your PC is capable of delivering power
to the 3C359B NIC through a single pin in the PCI bus, then
there is no need to install the cable. See your PC's hardware
specification and documentation for complete information.
WARNING: Install the NIC in the PC before inserting
the Remote Wake-Up cable into the 3-pin connector
on the NIC.
b Attach the cable to the connector on the PC motherboard.
For Remote Wake-Up installation details, see instructions in
Chapter 2 of the user guide.
For more information on Remote Wake-Up, see the
WAKEFAQ.TXT file located in the root directory on
TokenDisk diskette 1 or in the \DISK_1 directory on the
TokenLink Velocity XL CD.
4 Connect a token ring cable to the NIC.
For cabling details, see installation instructions in Chapter 2
and connector and cabling specifications in Appendix A of
the user guide.
5 Connect the other end of the cable to a network dual
access unit (DAU), a multistation access unit (MAU),
controlled access unit (CAU), or a token ring switch.
The 3C359B NIC can operate in full-duplex (simultaneous
send and receive) mode when attached to a Dedicated
Token Ring (DTR)-enabled switch. Operating in full-duplex
mode can optimize performance in switched environments
by doubling the available bandwidth for high-powered PC's
and servers running mission-critical applications.
6 Turn the PC power on.
The PCI system automatically configures the 3C359B NIC.
7 Choose the appropriate network device driver for
your operating system environment.
Installing the 3C359B NIC
5
