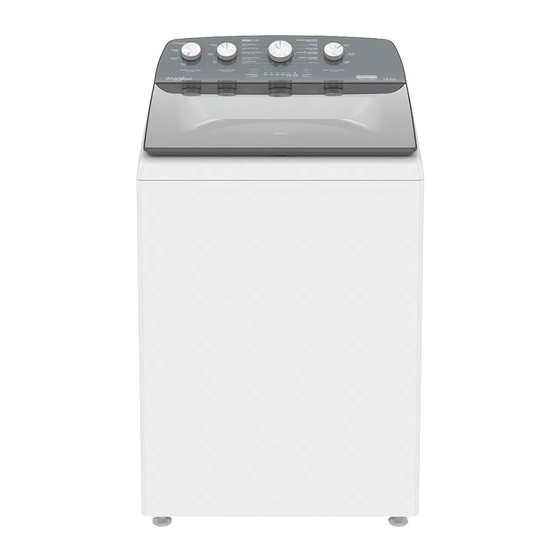
Whirlpool 1MWTW2041 Руководство по эксплуатации и уходу - Страница 28
Просмотреть онлайн или скачать pdf Руководство по эксплуатации и уходу для Стиральная машина Whirlpool 1MWTW2041. Whirlpool 1MWTW2041 41 страница.

8.
Seleccione el Tamaño de Carga
Select the adjustment for Load Size adequate for your dry
clothes, as the indicator of the Load Size in the tub (SMART
LOAD®)
Small Load (S) adjustment will add a lower water volume for
small loads. The adjustment for large load (L) will add an
upper level of water for large or bulky loads. Items must
move free in the tub.
For models with "Auto" option (AUTO
LEVEL®) in Load Size, when selecting
this option, the washer will determine
the load size automatically through sensing and fill the
water accordingly.
For models with the "Manual Fill" option in the Load Size,
when selecting this option, you will determine the amount of
water to be used based on the load size you wish to wash.
9.
Select the additional options of your preference
(if it applies to your model)
Load
Soil
Temperature
Size
Level
Once you have selected a cycle, you may select among
different options to add to your cycle and get a more
efficient washing.
Depending on your model you may add the following
options:
• Soil Level
• Extra Rinse
• Spin Level
• Start Delay
10.
Close the lid
IMPORTANT: If when finishing the filling you keep the lid
open, you will notice that your washer will warn by the lights
for the washing stages turning on flashing for you to close
the lid, if in 10 minutes the lid is not closed, the cycle is
cancelled and the water will drain automatically.
28
AUTOMATIC
LOAD SIZE
Double
Spin
Delay
Rinse
Level
Start
Close the lid to get
maximum washing
efficiency.
11.
Press Start/Pause to start the washing cycle
Press the button Start/Pause to start the washing cycle.
When the cycle finishes, take out the clothes immediately to
avoid odors, reduce wrinkle formation and avoid oxidation of
metal hooks, zippers and snaps.
How to unblock the lid to add garments:
Press Start/Pause once, add the garments, close the lid and
press Start/Pause again to continue the cycle.
NOTE: Every time you open and close the lid, your washer will
enter in the "Pause Mode". To continue the cycle you must
press the Start/Pause button, on the other way the washer will
not restart the cycle.
HOW TO CANCEL A CYCLE
To cancel the cycle you must press once the Power/Cancel
button.
When the cycle is canceled, the washer will enter in the
"Pause Mode" and water will not drain. This allows you to
change the cycle and continue using the water previously
filled. Press Start/Pause to start the new cycle.
If you press twice the Power/Cancel button, your washer will
turn off and drain the water automatically.
NOTE: If you cancel the current cycle and change the load to the
"Auto" option, the water previously filled in will be drained
automatically to start sensing phase from the AUTO LEVEL®
system.
ELECTRICAL REQUIREMENTS
Risk of Electric Shock
Plug into a grounded 3 prong outlet.
Do not remove the ground terminal.
Do not use a plug adapter.
Do not use an extension cord.
Failure to follow these instructions can
result in
death, fire, or electrical shock.
An electric supply of 110-126 volts, 60 hertz, CA
only is needed, 15 or 20 amperes and fused
protected is needed. It is recommended to use a
power fuse or fuse limiter, in an independent circuit
that serves only this appliance.
This washer is equipped with an electric cable with a
grounded 3 prong plug.
