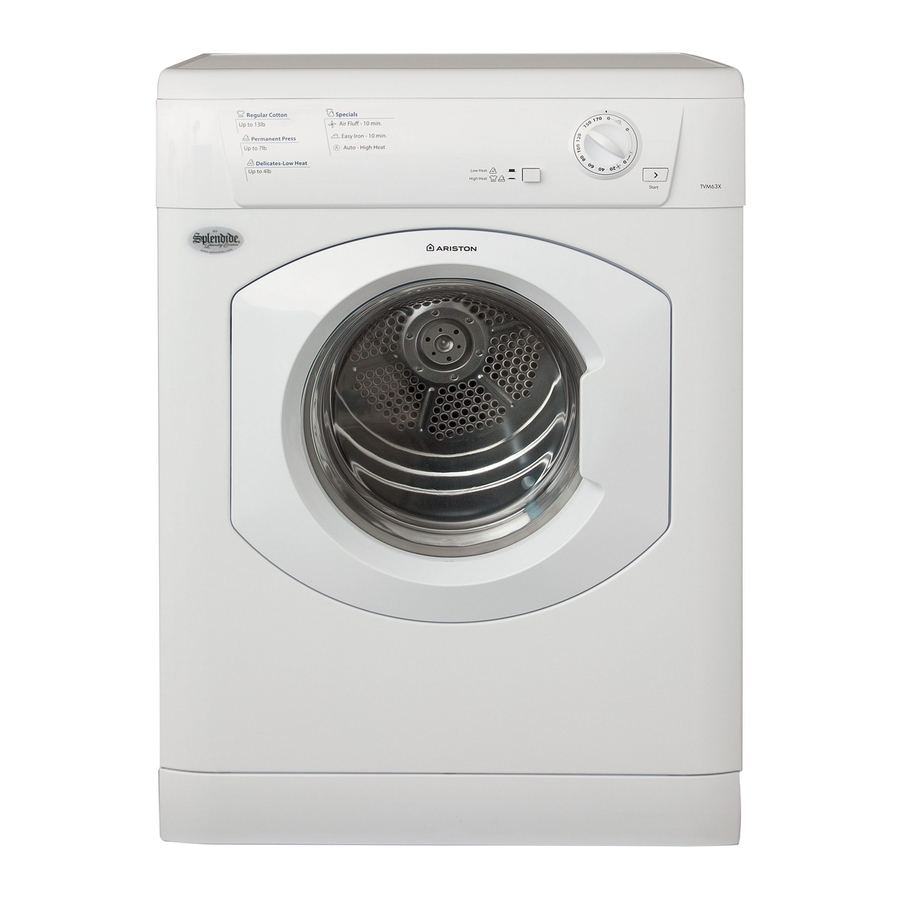
Ariston TVM63X NA Информация о сервисе - Страница 15
Просмотреть онлайн или скачать pdf Информация о сервисе для Сушилка Ariston TVM63X NA. Ariston TVM63X NA 19 страниц. Electro-mechanical vented tumble dryers
Indesit
Company
F
Side Panels
1.
Remove the top cover as in (A).
2.
Remove the plinth by pulling forward.
3.
Remove the screw behind the plinth.
4.
Remove the screw securing the side panel to the front panel.
5.
Remove the 4 screws securing the side panel to the rear panel.
6.
Pull the side panel backward to disengage from the lugs on the base panel.
G
Front Panel & Air Duct
1.
Remove the top cover as in (A).
2.
Remove the console complete as in (B7).
3.
Remove the plinth.
4.
Remove the 4 screws securing the front panel to the base panel.
5.
Disconnect the wiring to the air duct thermostat(s).
6.
Disconnect the wiring to the door switch.
7.
Remove the 2 screws securing the left hand side panel to the front panel.
I
Energy Save
1.
Remove the right hand side panel as in (F) above, or the front panel as in (G).
2.
Disconnect the thermostat wiring and remove the 2 screws fixing the thermostat to the air duct.
J
Door Switch / Interlock
1.
Remove the top cover as in (A).
2.
Remove the right hand side panel as in (F).
3.
Disconnect the wiring to the switch.
4.
Using the button removal tool Part No. C00222677 (5600127), depress the 2 plastic locating pips
on the door switch (taking care not break lugs) and slide the switch towards the door seal to
disengage from the front panel.
K
Door Seal
1.
Remove the front panel and air duct as in (G).
2.
Remove the 4 screws securing the air duct to the front panel and separate the air duct from the
front panel.
3.
The door seal can now be removed from the front panel.
4.
Replace in reverse order.
L
Door
1.
Open the door and remove the 4 screws securing the door assembly to the front panel.
2.
Remove the complete door from the front panel.
3.
Remove 1 screw securing the door latch to the door.
4.
Remove the screw behind the door latch, securing the door handle to the door.
5.
Remove the 6 screws securing the two halves of the door assembly.
6.
The door trims can now be split giving access to the door bowl, handle and door hinges.
Service Manual UK
15 of 19
English