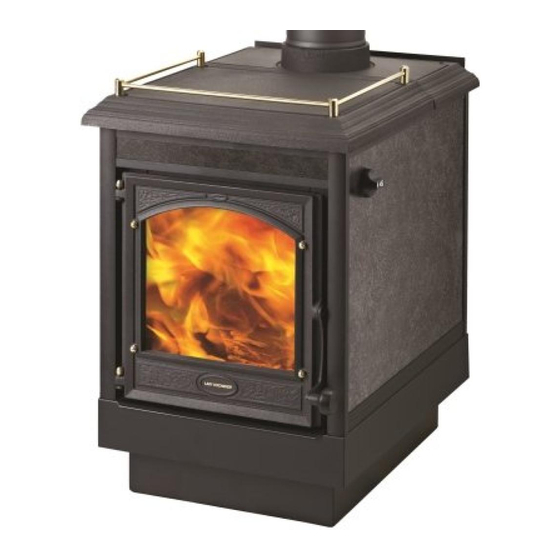
Firenzo LADY KITCHENER RU Руководство - Страница 9
Просмотреть онлайн или скачать pdf Руководство для Дровяная печь Firenzo LADY KITCHENER RU. Firenzo LADY KITCHENER RU 15 страниц. Freestanding woodburner

5a. ASSEMBLY INSTRUCTIONS
IF INSTALLING FIRE WITH AN OUTSIDE AIR KIT
1. Establish position of heater before fixing.
2. Cut holes in both lining and exterior cladding of approx 100mm wide and 75mm
high to accommodate duct (see drawings).
3. If a wall stud is located at centre of heater position, the wall penetration should be
moved to one side. Allowance is made on the heater to move ducting laterally by
placing offset duct spigot in appropriate position.
4. For standard pedestal base or drawer models, the bottom of the cut-out should be
90mm above floor protector. For models with legs the bottom of the cut-out should be 160mm.
5. Remove all packaging and timber.
6. Remove loose parts from inside the firebox.
7. Position the base with angle steel down onto the floor protector, taking the necessary final
clearance into consideration. The base has the flue centre indicated on the flat steel bracket.
The label next to this point states the minimum clearances from the base to combustible
surfaces. These measurements coincide with the figures on page 4 for the heater clearances
when assembled.
8. At this point a hole in the ceiling to accommodate the flue may be cut and the liners
installed.
9. Remove both front and rear top castings.
10. Remove rear heat shield and fit duct spigot by drilling and securing to body
ensuring that it lines up with the wall penetration.
11. Replace heat shield and secure the unit in place.
12. Place firebox on base. Secure with brackets provided.
13. Fit the wetback, if allowable, in accordance with accepted plumbing practice - please refer
to page 10. If NO wetback is to be fitted please ensure that blanking plugs are attached to the
two holes in the rear of the upper chamber.
14. From outside feed the duct through the wall, slip the interior flange over the duct
and push into the duct spigot on heater. (mark and trim the duct if necessary, this
should terminate approximately 5-10mm short of the external wall face).
15. Place the external cover over the duct and fix with the 4 screws provided.
16. Slide interior flange against lining and secure to duct.
8
