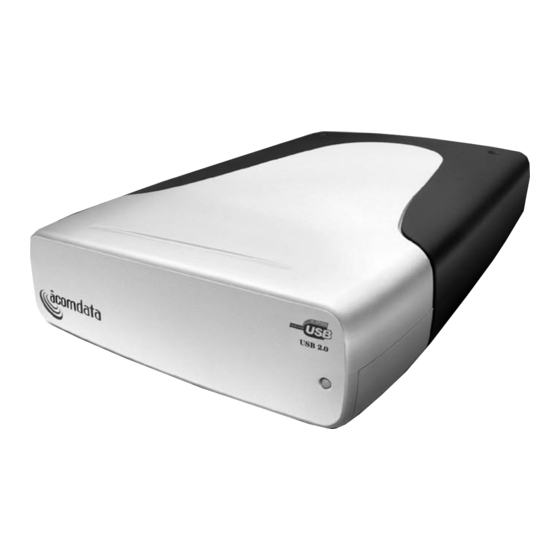
Acomdata External HARD DRIVE USB 2.0 Руководство пользователя - Страница 7
Просмотреть онлайн или скачать pdf Руководство пользователя для Хранение Acomdata External HARD DRIVE USB 2.0. Acomdata External HARD DRIVE USB 2.0 17 страниц.

C
ONNECTING THE
D
Y
RIVE TO
OUR
C
AcomData
A comData
OMPUTER
External
External
Hard Drive
Hard Drive
Important Notes:
• It is highly recommend-
ed that when you install
the Drive, you connect it to
a USB port on your computer
rather than to a USB hub. Once
the installation has been successfully completed, you can
then connect the Drive to a USB hub if you so choose.
We recommend this approach because if you experience
a problem during installation, the problem will be easier
to troubleshoot if a USB hub is not used.
• Before you install the Drive, we recommend that you
restart your computer or shut it down and connect the
Drive with the computer turned off. This way you can
start with a 'clean slate' and avoid potential problems
caused by software conflicts or memory fragmentation.
1. Plug the AC adapter cord into the power port on the
back of the Drive. The plug should not require much effort
to insert. If the plug will not go in, do not force it; the plug
is probably upside down. Rotate the plug and try again.
Incorrectly inserting the plug could damage the Drive and
void the warranty.
2. Plug the power cord into the cord socket
in the AC adapter. Plug the other end into a
three-prong outlet.
3. Plug in the USB 2.0 cable.
Each end of the USB cable has differ-
ent plugs, called 'A' and 'B'. The 'A' end
plugs into your computer or USB hub.
The 'B' end plugs into the Drive. Be
10
USB 2.0 cable
AC adapter
& power cord
FireWire cable
6-pin to 6-pin
USB cable
"A" Plug
"B" Plug
sure to correctly insert the plugs, or you may damage
the Drive.
4. Press the power switch located on the back of the
Drive. Once the Drive is powered up, your computer should
recognize it and the Drive will be ready to use. No format-
ting is required.
I
NSTALLING
USB 2.0 CD
THE
(For Windows 98SE and ME* only)
*Windows ME users:
If you have upgraded your Windows ME OS with all of
the latest available updates from Microsoft, you will not
need to install the USB 2.0 CD.
1. After the Drive has been properly connected and turned
on, the Add New Hardware Wizard should appear with
the message: "Found New Hardware --> USB 2.0 Storage
Adapter." Click Next.
2. You will then see the message: "What do you want
Windows to do?" with two options. Select "Search for the
best driver for your device (Recommended)." Click Next.
3. In the next window that appears, check the box labeled
CD-ROM drive and insert the USB 2.0 Installation CD into
your CD drive. Click Next.
4. You will then see the message: "Windows is now ready
to install the best driver for this device..." Click Next.
5. Once the software installation is complete, you will see
the message "Windows has finished installing the software
that your new hardware device requires." Click Finish and
then eject the CD. You should now see a new icon (a gray
box with a green arrow) next to the time display on your
System Tray.
11
