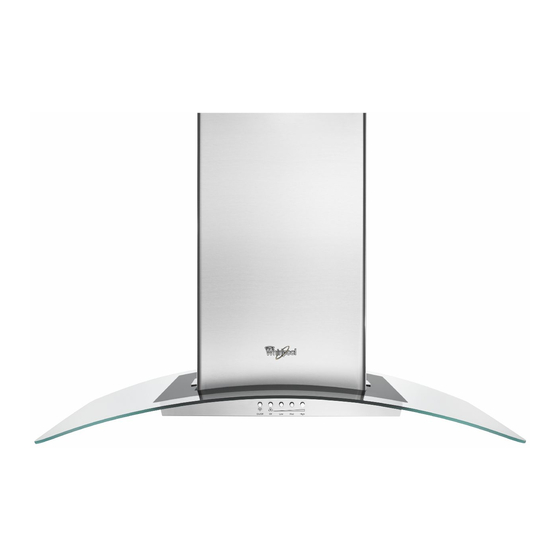
Whirlpool GXI6536DXS2 Инструкции по установке и руководство по эксплуатации и уходу - Страница 8
Просмотреть онлайн или скачать pdf Инструкции по установке и руководство по эксплуатации и уходу для Вентиляционная вытяжка Whirlpool GXI6536DXS2. Whirlpool GXI6536DXS2 28 страниц. 36" (91.4 cm) island-mount canopy range hood

3.
6. Install retainer bracket to both sides and secure with 4 - 4 x
8 mm screws to hold glass canopy to ventilator assembly.
4=
5=
Attach a second set of vertical supports (A) and set the
vertical height (B). See "Installation Clearances"
in the
"Location Requirements"
section to help determine the
desired dimension for vertical height "B."
A
A
.........
I
.........
B
m
A. Verticalsupports
B. Verticalheight
Assemble rubber seals to the front and back flange of the
ventilator assembly.
A. Rubber seal
Assemble and center glass canopy to ventilator assembly.
C
7=
A. Retainer bracket
B. Glass canopy
C. Ventilator assembly
Attach
the range hood
assembly
to the upper
horizontal
support
attached
to the ceiling
using 16 - 4 x 8 mm screws
and tighten.
A
!
!
Connect Vent System
1. Install vent system.
2. Push duct over the exhaust outlet. Seal all connections with
vent clamps.
Non-Vented
(recirculating)
Installation
1. Attach the air deflector to the upper horizontal support using
4 mounting screws.
A. Glass canopy
B. Ventilator assembly
8
2=
A. Deflector
B. Mounting screws
Measure the length of 6" (15.2 cm) duct needed to connect
the transition to the deflector.
NOTE: Vent should fit up inside the deflector 1" (2.5 cm)
minimum.
3. Install vent between the transition and the deflector.
NOTE: To make vent installation easier, temporarily
remove
the deflector from the chimney support bracket and replace
after vent section is in place.
4. Seal all connections
with vent clamps.
