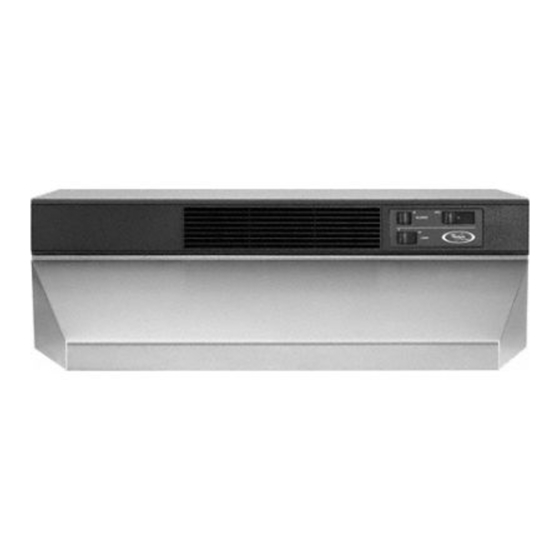
Whirlpool GZ8330 Series and Инструкции по установке и руководство по эксплуатации и уходу - Страница 6
Просмотреть онлайн или скачать pdf Инструкции по установке и руководство по эксплуатации и уходу для Вентиляционная вытяжка Whirlpool GZ8330 Series and. Whirlpool GZ8330 Series and 20 страниц. 30" and 36" convertible range hood
Также для Whirlpool GZ8330 Series and: Инструкция по установке и руководство по эксплуатации и уходу (10 страниц)

keyhole slot
13.
Lift the range hood up
under cabinet and determine final
position. Mark on the underside
of cabinet the location of the four
keyhole mounting slots. Set
range hood aside on a protected
surface.
drill pilot hole
14.
Use 1/8" (or 3 mm) drill bit
and drill 4 pilot holes as shown.
15.
Remove the 4 hood
mounting screws from the parts bag
and install in pilot holes. Leave
screw heads away from filler
strips or cabinet bottom about
1/4" (6.4 cm)
16.
If using direct wiring, make
sure power is disconnected, and pull
about 12" (30 cm) of wire through
wall or cabinet and into opening.
17.
Lift range hood into final
position, feeding electrical wire
through wiring opening. Position the
range hood so that the large end of
the keyhole slots are over the
screws. Then push the hood toward
the wall so that the screws are in the
neck of the slots. Tighten mounting
screws to cabinet, making sure
mounting screws are in narrow neck
of slots. Make sure that damper
blade, if used, rotates up and down
freely.
18.
Connect ventwork to hood.
Seal joints with duct tape to make
the secure and air tight.
6
front
Make electrical
of hood
connection
Electrical Shock Hazard
Disconnect power before making
electrical connections.
Connect ground wire to green
ground screw in terminal box.
Failure to do so can result in
death or electrical shock.
black
1/4"
(6.4 mm)
green
green or bare
ground wire
19.
connections. Install locknut on
electrical connector and tighten
securely. Connect white to white
and black to black wires using
twist-on connectors. Connect
green or bare ground wire to the
green ground screw.
Using a U.L.-listed power
supply cord-connection kit
(U.S. only):
Follow Power Cord Kit instructions for
connecting wiring.
20.
and screws. Make sure that wires
are not pinched between cover
and hood.
21.
bulbs, or one 75 watt and one 25
watt bulb for night-light use. Install
25 watt bulb in right-hand socket.
WARNING
white
locknut
electrical
connector
Make electrical
Replace wiring box cover
Install two 75 watt max.
blower
discharge
horizontal vent
22.
Reinstall blower.
Vented installations:
Reinstall blower. Do not grasp
blower by blower wheels. Position
blower so that blower discharge
lines up with damper/vent
connector and slip rods into
mounting brackets on blower
assembly. Tighten knurled nuts
securely and reconnect blower
plug.
Non-vented installations:
front holes
black
Reinstall blower. Do not grasp
blower by blower wheels. Move
mounting rods to front holes in
hood support channels. Position
blower so that blower discharge
lines up with louvered opening on
hood front.
Slip rods into mounting brackets
and tighten knurled nuts securely.
Reconnect blower plug.
louver
cover
Remove louver cover on control
panel. Pry cover off with
screwdriver or knife.
23.
Reinstall bottom cover
(see Step 6).
To get the most efficient
use from your new range
hood, read the "Use and
Care Information" section.
Keep your Whirlpool
Installation Instructions and
Use and Care Guide close
to range hood for easy
reference.
blower
discharge
vertical vent
blower
discharge
