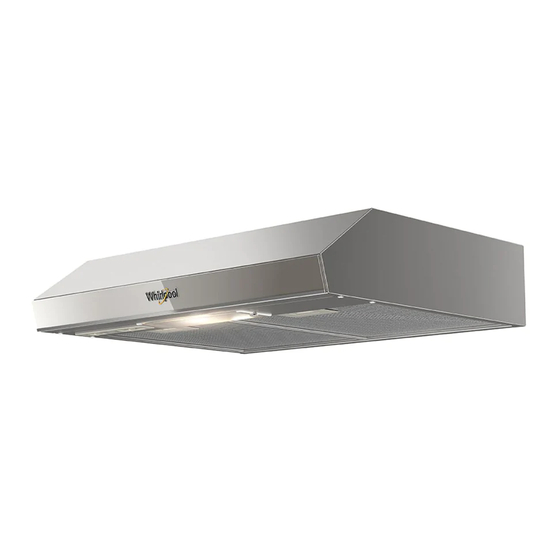
Whirlpool WH7610D Инструкции по установке и руководство по эксплуатации и уходу - Страница 5
Просмотреть онлайн или скачать pdf Инструкции по установке и руководство по эксплуатации и уходу для Вентиляционная вытяжка Whirlpool WH7610D. Whirlpool WH7610D 15 страниц. 23.6", 30", and 31.5" (60 cm, 76 cm, and 80 cm)

Complete Installation
1. Check that all the parts have been properly installed.
2. Make sure that all the tools used during installation
are outside the hood.
3. Make sure that you have disposed of and/or recycled all
packaging items.
4. Check that all cords and cables are properly insulated and
in position.
IMPORTANT: A damaged power supply cord must be
replaced by the Whirlpool Solutions Center.
Range Hood Use
The kitchen hood has been designed to extract fumes,
cooking vapors and odors from the cooking surface area. To
get the best possible results, switch the hood on before
starting to cook and let it run for several minutes after you
finish cooking to extract all kitchen fumes and odors.
The hood's controls are located on the top of the kitchen
hood.
9
Range Hood Controls
Set the light switch to the On position and the motor switch to
position 1, 2 or 3, depending on the required speed.
Cleaning
Install the anti-grease filters before operating the hood.
Exterior Surfaces:
IMPORTANT: Do not use soap-filled scouring pads, abrasive
cleaners, cooktop polishing creme, steel wool, gritty
washcloths or paper towels.
Cleaning method:
Rub in the direction of the grain in order to avoid
scratching or damaging the surface.
Use liquid detergent or an all-purpose cleaning product.
Rinse the detergent away with clean water and dry with a
damp soft, lint-free cloth.
Use glass cleaner to remove fingerprints.
How to replace the halogen bulb
Switch off the range and wait until the bulb cools.
1. Switch off the power.
2. Press the plastic lens cover to open it and remove it from
the hood.
10
3. You will need a 28 W halogen bulb with an E14 socket.
NOTE: You can also use an incandescent bulb, maximum
40 W and 127 V.
4. Thread the bulb onto the holder.
5. Snap the light cover back into place, inserting the tabs into
the grooves.
6. Switch the power back on. If the new bulb does not work,
make sure that you have inserted it properly before calling
the technical service.
