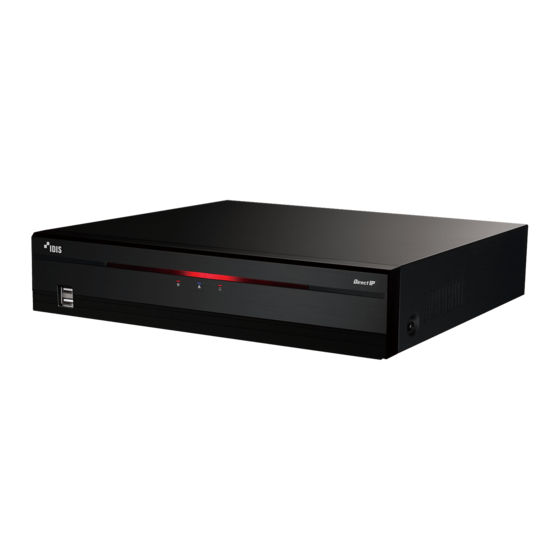
Direct IP Idis DR-4200P Series Краткое руководство - Страница 9
Просмотреть онлайн или скачать pdf Краткое руководство для Сетевое оборудование Direct IP Idis DR-4200P Series. Direct IP Idis DR-4200P Series 17 страниц.

• There is no default password for the admin
account. Select "admin" and then "OK" without
entering a password to log in.
• Leaving the admin account unassigned with
a password poses a security risk. Please assign
a password at your earliest convenience. A
warning message will continue to be displayed
until a password is assigned.
• Click on the
field using the mouse. This will bring up a
virtual keyboard you can use to assign a
password.
3
To log out, bring up the Live menu and click on
(Log out) using the mouse.
Find Password
1
Enter a user, registered email and then select Get
Verification Code.
2
Enter Verification Code and select OK.
• Select the question mark button at the
bottom left corner of the screen to refer to the
passoword settings instructions.
• The password must be entered only with the
virtual keyboard.
• To use find password function via e-mail, set
the mail server supporting SSL/TLS. For more
information on e-mail, refer to the manual.
button next to the password
Basic Feature
Live Mode
Once Camera Registration is complete, the system will enter
Live Mode.
Press the Setup button while in Live mode to bring up
the Live menu on the top of the screen. Press Setup once
more to hide the menu. Use the Arrow buttons on the front
panel of the NVR or the remote control to select the menu
options.
Video Recording
Records the live video.
Refer to the manual for more information.
Panic Recording
Select Live or Search menu's Panic Recording
press the Panic Recording button on the front panel or
the remote control to commence panic recording on all
registered cameras.
To stop Panic Recording, select the Panic Recording
or press the Panic Recording button again. If the Panic
Recording Time option under Record Setup > General
has been configured, Panic Recording will automatically
terminate after the specified duration of time has elapsed.
• Panic Recording takes place irrespective of any
recording schedule set up by the user.
• Panic Recording video profile from Record Setup –
General applies to all Panic Recording videos.
Panic Recording will not take place if recording mode
is not set to Recycle and the HDD has reached 100%
of its capacity.
Audio Recording
If the Record Audio option under Record Setup > General
has been enabled the camera will record audio along with
video.
Check your local laws and regulations on making
audio recordings.
icon or
icon
9
