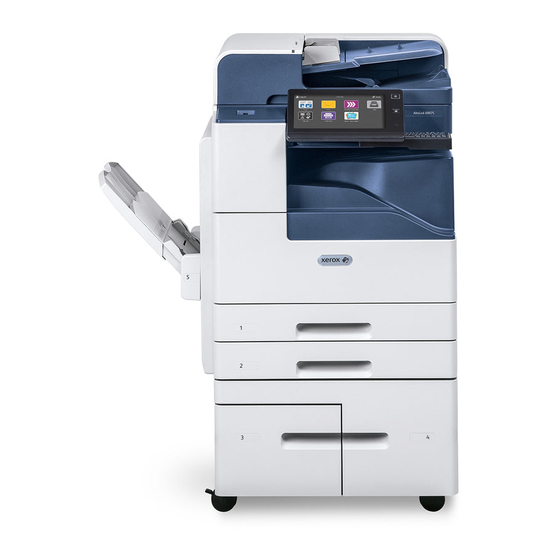
Xerox AltaLink B8075 Техническое обслуживание - Страница 3
Просмотреть онлайн или скачать pdf Техническое обслуживание для Принтер Xerox AltaLink B8075. Xerox AltaLink B8075 4 страницы. Customer training
Также для Xerox AltaLink B8075: Начало работы (14 страниц)

Replacing the Fuser Module – Careful in this area may be HOT
Replacing the Transfer Roller - When the Transfer Roller is replaced you must reset the Supply
Counter.
1. Power off the device, then disconnect the power cord from
the device.
2. Remove any paper from Tray 5.
3. Open the left side door of the device.
4. Locate the transfer roller in the printer side door. It is
labeled R4.
5. To remove the used transfer roller, squeeze the orange tabs
at both ends of the transfer roller and lift the transfer roller
out of the printer.
6. Unpack the new transfer roller. Retain the packaging.
7. To install the new transfer roller, position the transfer roller
in the side door as shown. Squeeze the orange tabs at both
ends of the transfer roller and press down gently, until it clicks
into place.
8. Place the used transfer roller in the packaging that came with the new transfer roller.
9. Close the left side door of the device.
10. Reset the supply life counter. To reset the counter manually:
1. Touch Device and then Tools.
2. Touch Device Settings and then in the Features list, touch Supplies > Supply Counter
Reset.
3. Touch Transfer Roller and then Reset Counter. The Reset Confirmation Counter screen is
displayed.
4. To reset the counter, touch Reset. The counter is set to 100% remaining.
5. Close the window.
1. Power off the device, then disconnect the power cord from the
device.
2. Remove any paper from Tray 5. Open the left side door of the
device.
3. Locate the fuser module in the side of the printer. It is labeled R3.
4. To release the fuser module, rotate the orange thumbscrews
counterclockwise. The thumbscrews are at each end of the fuser
module.
5. Pull out the used fuser module.
6. Unpack the new fuser module. Retain the packaging.
7. Insert the new fuser module.
8. To fasten the fuser module, rotate the orange thumbscrews
clockwise.
9. Place the used fuser module in the packaging that came with the
new fuser module.
10. Close the left side door of the device. Reconnect the device to the
power cord, then power up the device.
