Xerox WORKCENTRE 5745 Инструкции пользователя - Страница 2

Просмотреть онлайн или скачать pdf Инструкции пользователя для Принтер Xerox WORKCENTRE 5745. Xerox WORKCENTRE 5745 4 страницы. Smart card
Также для Xerox WORKCENTRE 5745: Информационный справочник (50 страниц), Информационный лист (18 страниц), Брошюра и технические характеристики (8 страниц), Руководство по началу работы (32 страниц), Безопасная установка и эксплуатация (11 страниц), Руководство пользователя (8 страниц), Как сделать копию (10 страниц), Руководство по установке (43 страниц)
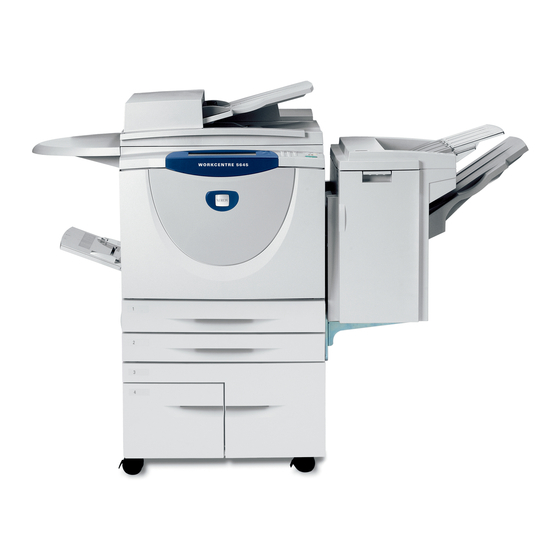
Xerox WORKCENTRE 5745 Инструкции пользователя
How to set up a speed dial
1.
If necessary, press the [Services Home] button on the Control Panel, and then
select the [Fax] tab on the Touch Screen to display the Fax options.
2.
From the Address Book Setup screen, enter an Address Book number or select
one from the Address Book list.
3.
Select the Edit Details button.
4.
Touch the Entry Name field and enter the Address Book name (maximum of 20
characters).
5.
Select the Save button to confirm entries.
6.
Touch the Fax Number field and enter the fax number (including any Dialing
Characters) using the number keypad.
7.
Select the Save button to confirm entries.
8.
Select the Save button again to save your entry to the Address Book and return
to the Setup screen.
How to send a fax
NOTE: Faxes can be sent using the Automatic Document Feeder (ADF) or the
Document Glass. Multiple-page documents must be faxed using the ADF.
1.
For the ADF, remove any staples and paper clips from the original, and then load
the original face-up into the Feeder, typically in the portrait orientation.
For the Document Glass, load the original face-down on the glass with the top of
the page toward the left side of the glass, typically in the portrait orientation.