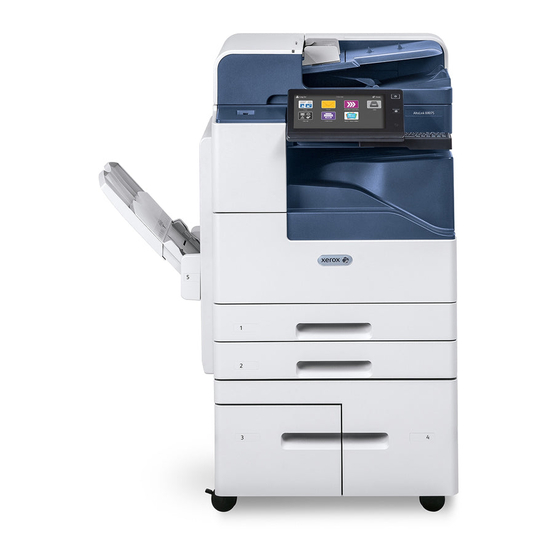
Xerox AltaLink B8055 Начало работы - Страница 7
Просмотреть онлайн или скачать pdf Начало работы для Принтер "все в одном Xerox AltaLink B8055. Xerox AltaLink B8055 14 страниц. Customer training
Также для Xerox AltaLink B8055: Техническое обслуживание (4 страниц)

3
For Email, touch Manual Entry,
type the email address using the
touch screen keypad, then touch
Add. To add more than one email
address to the list, touch Add
Recipient. To type a subject line
for the email, touch Subject. To
select saved email addresses, use
the Device Address Book or select
from Favorites.
4
Change the settings as needed, then touch Scan, or for Email,
touch Send.
2
Scanning and Emailing
For Workflow Scanning, touch
Default Public Mailbox, or insert
your USB Flash Drive.
For Scan To, to enter saved share
locations, touch Favorites or
Device Address Book.
USB
Note: Settings from previous users remain
onscreen for a short time. To restore the
default settings in an app, scroll to the
bottom of the feature list and touch Reset.
www.xerox.com/office/support
