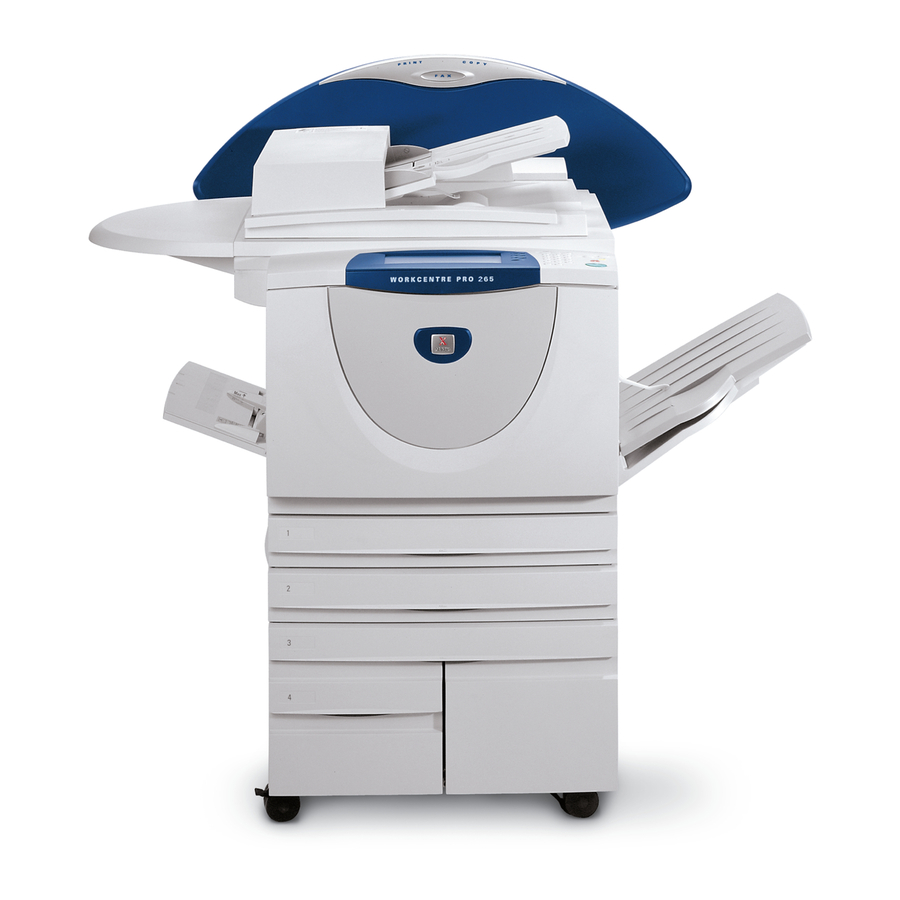
Xerox WorkCentre Pro 65 Руководство по системному администрированию - Страница 27
Просмотреть онлайн или скачать pdf Руководство по системному администрированию для Принтер "все в одном Xerox WorkCentre Pro 65. Xerox WorkCentre Pro 65 30 страниц. Pdl reference guide
Также для Xerox WorkCentre Pro 65: Краткое руководство по эксплуатации (16 страниц), Руководство пользователя (24 страниц), Руководство по установке сети (42 страниц), Справочное руководство (22 страниц)

Xerox WorkCentre Pro System Administration Guide Supplement
3. When the Overwrite Security screen displays, note which
of the two selection buttons is highlighted as the current
setting. The available settings are Enable and Disable.
a) To change settings, press Enable or Disable, then
press Save. To exit the settings screen, without
making any changes, press Cancel.
b) Press Exit Tools. If changes were made, the
machine will reboot automatically.
On Demand Overwrite from a WorkCentre Pro
Go to the WorkCentre Pro and...
1. Enter the Tools pathway.
a) Press the Access (
b) On the keypad enter 1111 or the current password.
Press Enter. The Touch Screen will be used for the
remainder of the data entry, unless instructed
otherwise.
2. Enter Overwrite menu
a) Press More. (up to 2 times)
b) Press On Demand Overwrite.
c) Press Start.
NOTE: A screen will appear to confirm that this procedure will
delete image data from the hard disks. Any existing jobs in the
queue will be deleted. The machine will be taken offline and
will be unable to receive any incoming jobs. Internet Services
will not be available until the machine reboots and comes
back online.
The On Demand Overwrite will overwrite all image data on the
hard disks. The process takes up to 20 minutes.
To cancel the overwrite procedure press Abort. Enter the
current administrator password. The overwrite procedure
may have already started at this stage. Press Back to
continue with the overwrite.
or
) button.
Page 1 - 15
