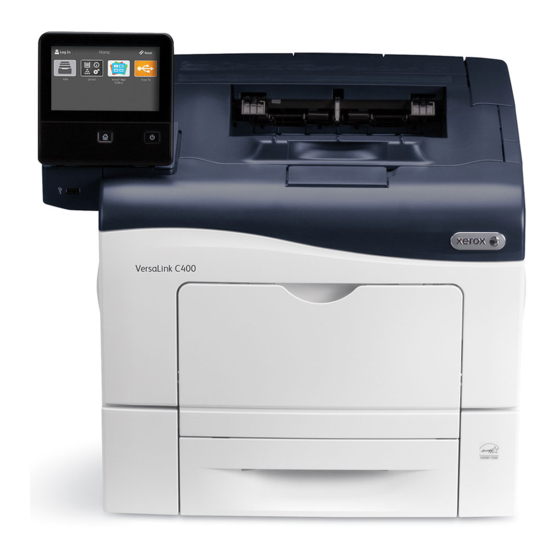
Xerox VersaLink C405 Инструкции по установке прошивки - Страница 3
Просмотреть онлайн или скачать pdf Инструкции по установке прошивки для Аксессуары для принтеров Xerox VersaLink C405. Xerox VersaLink C405 4 страницы. Fuser
Также для Xerox VersaLink C405: Инструкции по установке прошивки (4 страниц), Инструкции по замене картриджа (2 страниц), Руководство (3 страниц), Дополнительное руководство (50 страниц), Руководство (4 страниц)

Enabling Upgrades
.
1
In the Embedded Web Server, click
2. Click
Software Update.
3. If the Software Update area shows Disable, click
Note:
Changing this state requires a restart.
Procedures
Select a method to upgrade the device firmware.
Method 1: Upgrade using the Embedded Web
Server
1.
At the printer control panel, print a copy of the
Configuration Report: see page 1 for instructions.
2.
In the Embedded Web Server, log in as Admin, then click
System.
3.
Software Update.
Click
4.
In the Software Update area, click
5.
Click
Install Now.
Note:
Check Now
fails, set up the proxy server. Refer to the System Administrator Guide for instructions or follow the instructions for
If
Upgrade Software Manually, below.
Method 2: Upgrade Firmware Manually
1.
At the printer control panel, print a copy of the
Configuration Report: see page 1 for instructions.
2.
At the computer, access www.xerox.com/support. Locate
and download the latest software release .zip file for your
product. Unzip the file to your desktop.
3.
Open an Internet browser window. Enter the IP Address of
the device in the Address field in the format
http://xxx.xxx.xxx.xxx
4.
Log in as Admin, then click System. The default password
is 1111.
Software Update.
5.
Click
Update from File Specified
6.
In the
7.
Browse and select the downloaded .bin file from your desktop.
Install Now.
8.
Click
System.
Enable.
Check
Now.
then press Enter.
Select.
section, click
