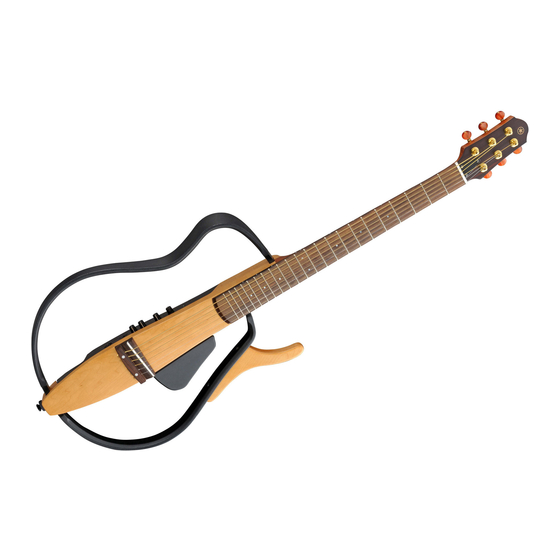
Yamaha Silent Guitar SLG-100S Руководство по эксплуатации - Страница 8
Просмотреть онлайн или скачать pdf Руководство по эксплуатации для Музыкальный инструмент Yamaha Silent Guitar SLG-100S. Yamaha Silent Guitar SLG-100S 22 страницы. Yamaha rbx374: product brochure
Также для Yamaha Silent Guitar SLG-100S: Руководство пользователя (15 страниц), Брошюра (18 страниц), Брошюра (40 страниц)

SLG-100S
QQ
3 7 63 1515 0
5.
Peg
(Time required: About 2 minutes)
5-1 Remove the three (3) strings in left side (4
st
rd
side (1
-3
strings) each. (Fig.2)
5-2 Remove the three (3) screws marked [A] in left and right each.
The left and right pegs can then be removed. (Fig.2)
TE
L 13942296513
Left side strings (4
(左側の弦 (4弦∼6弦) )
6.
Panel Assembly
(Time required: About 1 minute)
6-1 Remove the four (4) screws marked [F05] and the four (4) screws
marked [F06]. The panel assembly can then be removed. (Fig.3)
7.
MA Circuit Board, AUX Circuit Board,
Jack (LINE Connector Assembly)
(Time required: About 3 minutes each)
7-1 Remove the panel assembly. (See procedure 6.)
7-2 MA Circuit Board:
Pull out the three (3) rotary knobs for [VOLUME], [BASS] and
[TREBLE]. (Fig.3, 4)
Remove the two (2) screws marked [16A]. The MA circuit board
can then be removed. (Fig.4)
7-3 AUX Circuit Board:
www
Pull out the AUX knob and remove the screw marked [16B].
The AUX circuit board can then be removed with the jack holder.
(Fig.3, 4, 5)
Remove the hexagonal nut marked [B]. The jack holder can then
.
be removed from the AUX circuit board. (Fig.5)
7-4 Jack (LINE Connector Assembly):
Remove the hexagonal nut marked [10]. The jack (LINE
connector assembly) can then be removed. (Fig.3, 4)
8
http://www.xiaoyu163.com
th
-6
th
strings) and right
-6
)
th
th
Right side strings (1
-3
)
st
rd
(右側の弦 (1弦∼3弦) )
Fig.2
x
ao
u163
y
i
http://www.xiaoyu163.com
2 9
8
5.
糸巻き
(所要時間:約 2 分)
5-1 左側(4 弦∼ 6 弦)と右側(1 弦∼ 3 弦)の弦をそれぞれ 3 本ず
つ外します。 (図 2)
5-2 [A]のネジをそれぞれ 3 本ずつ外して、左右の糸巻きを外
します。 (図 2)
Peg
(糸巻き)
[A]
Q Q
3
6 7
1 3
1 5
[A]
(図2)
6.
パネル Ass'y
(所要時間:約 1 分)
6-1 [F05]のネジ4本と[F06]のネジ4本を外して、 パネルAss'y
を外します。 (図 3)
7.
MA シート、AUX シート、ジャック(LINE 束線)
(所要時間:各約 3 分)
7-1 パネル Ass'y を外します。 (6 項参照)
7-2 MA シート:
[VOLUME]、[BASS]、[TREBLE]用のロータリーツマミ 3
個を引き抜きます。 (図 3, 4)
[16A]のネジ 2 本を外して、MA シートを外します。 (図 4)
7-3 AUX シート:
AUX ツマミ 1 個を引き抜き、 [16B]のネジ 1 本を外して、
ジャックホルダーと共に AUX シートを外します。
(図 3, 4, 5)
co
[B]の六角ナット1個を外して、 AUX シートからジャック
ホルダーを外します。 (図 5)
7-4 ジャック(LINE 束線):
.
[10]の特殊六角ナット1個を外して、 ジャック(LINE束線)
を外します。 (図 3, 4)
9 4
2 8
Peg
(糸巻き)
0 5
8
2 9
9 4
2 8
m
9 9
9 9
