Yamaha Electone HS-8 Руководство пользователя - Страница 8

Просмотреть онлайн или скачать pdf Руководство пользователя для Электронная клавиатура Yamaha Electone HS-8. Yamaha Electone HS-8 20 страниц. Serie hs monitor da studio alimentato e subwoofer alimentato
Также для Yamaha Electone HS-8: Руководство пользователя (2 страниц), Руководство пользователя (2 страниц), Руководство пользователя (20 страниц), Руководство пользователя (20 страниц), Руководство пользователя (21 страниц), Руководство пользователя (20 страниц), Руководство пользователя (20 страниц), Руководство пользователя (20 страниц), Руководство пользователя (20 страниц), Руководство пользователя (20 страниц), Руководство пользователя (20 страниц), Руководство пользователя (20 страниц), Руководство по эксплуатации (43 страниц), Руководство по эксплуатации (на английском языке) (20 страниц)
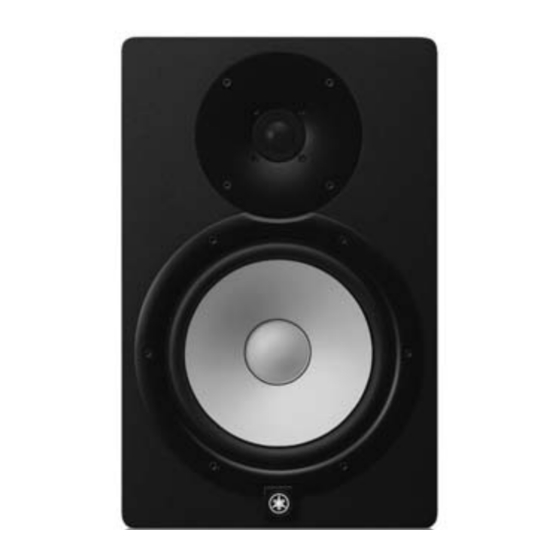
Yamaha Electone HS-8 Руководство пользователя

Setup

In this section we'll look at the general procedure for connecting and setting up a monitor speaker system.
This is just an example though, so feel free to set up your own system in the way that best serves your
personal listening needs.

Cables

You'll need to acquire appropriate cables to connect
the HS series monitor speakers to your audio interface
or other source equipment.
• Short, high-quality cables
Use high-quality cables of the shortest practical
length. The longer the cable, the more chance there
is that noise will creep in to degrade your sound.
• Balanced cables
Balanced cables are more resistant to noise than
unbalanced cables. If you have to use unbalanced
cables because the source equipment only has
unbalanced outputs, be sure to use the shortest
possible unbalanced cables.
Connections
NOTICE
Plug the supplied AC power cord into the corresponding socket on the
speaker. Plug the power cord into the speaker first, and then insert the
AC plug end into an appropriate AC wall outlet.
Connecting to an Audio Interface
When connecting an audio interface (Steinberg UR or
MR series, etc.) to HS series speakers, connect the
audio interface output connectors directly to the
speakers' input connectors. Normally you'll connect to
the LINE OUT 1 and 2 (1L and 2R outputs), although
that might depend on the specific audio interface and
DAW (Digital Audio Workstation) settings used.
HS8/HS7/HS5
8
HS8/HS7/HS5/HS8I/HS7I/HS5I/HS8S Owner's Manual
HS8/HS7/HS5
 Recommended cables
 For connection to a balanced phone jack input.
or
 For connection to an unbalanced phone jack input.
NOTE Refer to "Connectable cables" on page 5 for more connector
details. The configurations of the balanced and unbalanced
phone jack connectors are different.
Connecting to a Mixer
When connecting a mixer (Yamaha MGP or MG series,
etc.) to HS series speakers, connect the mixer's
MONITOR OUT or C-R OUT (Control Room) connectors
directly to the speakers' input connectors. This makes it
possible to control the monitor level independently from
the mixer's main bus level.
HS8/HS7/HS5
INPUT
L
MONITOR
OUT
or
C-R OUT
HS8/HS7/HS5
HS8/HS7/HS5
HS8/HS7/HS5
INPUT
R