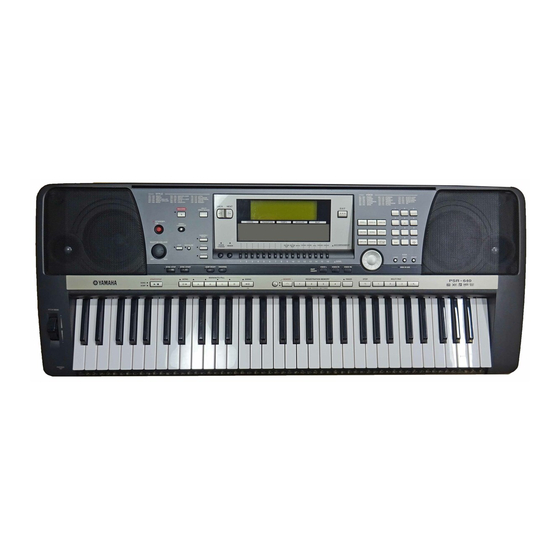
Yamaha PortaTone PSR-640 Пошаговые процедуры - Страница 18
Просмотреть онлайн или скачать pdf Пошаговые процедуры для Электронная клавиатура Yamaha PortaTone PSR-640. Yamaha PortaTone PSR-640 21 страница.
Также для Yamaha PortaTone PSR-640: Руководство по эксплуатации (18 страниц)

Many Yamaha Portable Keyboard models have multiple keyboard Parts such as
'Right 1', 'Right 2' and 'Left'. These are used for Voice splits and layers when
playing live or using 'Quick Record'. However, when using the 'Multi Track'
recording feature to record 'Track by Track', it is easier to use the 'Right 1' Part
for each Track, selecting a different Voice each time.
The default setting of the Recorder Tracks is set up for using 'Quick Record'
mode; Track 2 is assigned to the 'Right 2' Part of the keyboard, and Track 3 is
assigned to the 'Left' Part of the keyboard. Because of this, when using the 'Right
1' Part to record each Track in "Multi Track' record mode, Tracks 2 and 3 will not
record. To avoid this, assign both Tracks 2 and 3 to the 'Right 1' Part.
NOTE: The Track 9 - 16 default assignments are to the different Parts of the
Auto Accompaniment section (Bass, Rhythm, etc.), but each one of these Track
assignments can also be changed to 'Right 1' if desired.
When in 'Multi Track' recording mode, assign Tracks 2 and 3 to the 'Right 1'
Part of the keyboard:
1) Press the [RECORD] button.
2) Turn the Dial to select 'Song' in the screen.
3) Press the [NEXT] button.
4) Dial 'New Song'.
5) Press the [NEXT] button.
6) Turn the Dial to select 'Multi Track' in the screen.
7) Press the [NEXT] button three times.
8) Press the [2] button under the screen to select Track 2.
9) Turn the Dial to select 'RIGHT1' in the screen.
10) Press the [3] button under the screen to select Track 3.
11) Turn the Dial to select 'RIGHT1' in the screen.
Owner's Manual, p.96-97
X. Tracks 2 and 3 Won't Record
