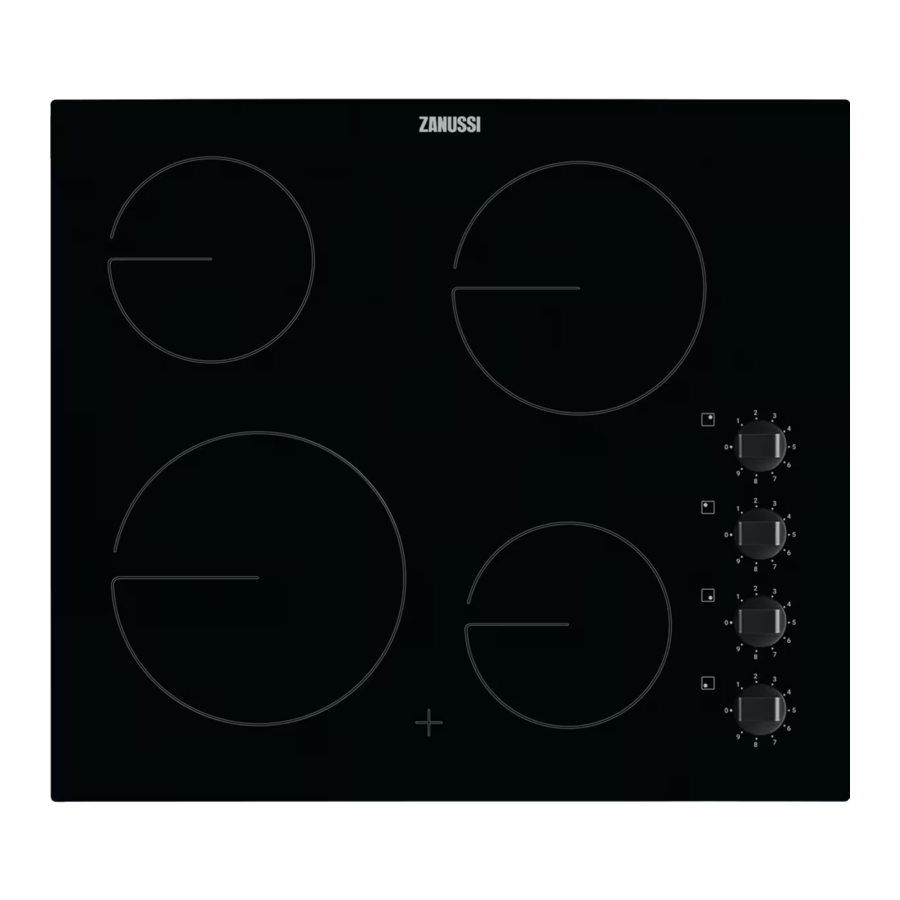
Zanussi ZHRN640K Руководство пользователя - Страница 5
Просмотреть онлайн или скачать pdf Руководство пользователя для Варочная панель Zanussi ZHRN640K. Zanussi ZHRN640K 13 страниц.
Также для Zanussi ZHRN640K: Руководство пользователя (16 страниц)

•
Cookware made of cast iron, aluminium or with
a damaged bottom can cause scratches on the
glass / glass ceramic. Always lift these objects
up when you have to move them on the cooking
surface.
•
This appliance is for cooking purposes only. It
must not be used for other purposes, for
example room heating.
CARE AND CLEANING
WARNING! Do not remove the
buttons, knobs or gaskets from the
control panel. Water may get inside
the appliance and cause damage.
•
Clean the appliance regularly to prevent the
deterioration of the surface material.
•
Deactivate the appliance and let it cool down
before you clean it.
•
Disconnect the appliance from the electrical
supply before maintenance.
•
Do not use water spray and steam to clean the
appliance.
INSTALLATION
WARNING! Refer to Safety chapters.
BEFORE THE INSTALLATION
Before you install the hob, write down the
information below from the rating plate. The rating
plate is on the bottom of the hob.
Serial number ...........................
BUILT-IN HOBS
Only use the built-in hobs after you assemble the
hob into correct built-in units and work surfaces
that align to the standards.
CONNECTION CABLE
•
For a single phase or two phase connection,
use the cable type: H05BB-F or H03V2V2-F
which withstands a temperature of 70 °C or
higher.
•
To replace the damaged mains cable, use the
cable: H05BB-F or H03V2V2-F which
withstands a temperature of 70 °C or higher.
•
Clean the appliance with a moist soft cloth. Use
only neutral detergents. Do not use abrasive
products, abrasive cleaning pads, solvents or
metal objects.
SERVICE
•
To repair the appliance contact the Authorised
Service Centre.
•
Use original spare parts only.
DISPOSAL
WARNING! Risk of injury or
suffocation.
•
Contact your municipal authority for information
on how to discard the appliance correctly.
•
Disconnect the appliance from the mains
supply.
•
Cut off the mains electrical cable close to the
appliance and dispose of it.
ASSEMBLY
min.
500mm
min.
50mm
5
