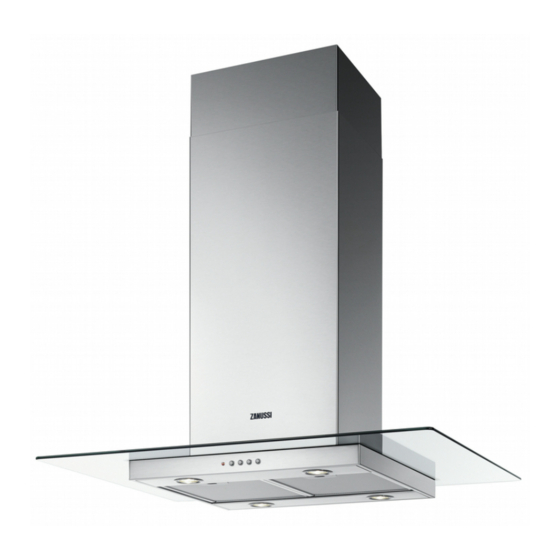
Zanussi ZHC960 Буклет с инструкциями - Страница 15
Просмотреть онлайн или скачать pdf Буклет с инструкциями для Вентиляционная вытяжка Zanussi ZHC960. Zanussi ZHC960 17 страниц. Zanussi owners manual ventilation hood zhc960
Также для Zanussi ZHC960: Руководство по эксплуатации (13 страниц)

Assemble the two halves of the
•
recirculation air extension tube item 14.
Push fit the assembled recirculation air
•
extension tube item 14 onto the air outlet.
Push fit the air outlet connector item 15
•
onto the recirculated air outlet extension
tube item 14.
Insert the connection extension pieces
•
item 14.1 into either end item 15.
Make sure that the assembly is correctly
•
aligned both horizontally and vertically. If
this is not the case, adjust the position of
item 14.1 by reversing them or by cutting
the recirclated air extension tube item 14
along one of the thinner section channels,
which denote the prefixed lengths, then
reassemble as discribed above.
The air outlet grilles item 8a - 8b must not
•
be fitted until the lower chimney item 2.2
has been installed.
Ensure the activated charcoal filter has
•
been fitted.
Electrical Connection
Connect the hood to the mains supply as
instructed on Page 10
Fitting the Upper Chimney
Slightly widen the two sides of the upper
•
chimney and hook them behind the
brackets item 7.2.1 ensuring they are
correctly seated.
Secure the sides to the brackets using the
•
4 screws item 12c (2.9 x 9.5mm)
supplied.
Fitting the Lower Chimney
Slightly widen the two sides of the lower
•
chimney and hook them between the
upper chimney and the wall, ensuring they
are correctly seated.
Fix the lower chimney to the hood body
•
using 2 screws item 12c (2.9 x 9.5mm)
supplied.
When in the recirculation mode, fit the
•
grilles item 8a - 8b in the lower chimney
ensuring the arrows on the grilles point
upwards and forwards. Also ensure that
they are correctly fitted in the extension
pieces item 14.1.
INSTALLING THE COOKER HOOD
Page 15
