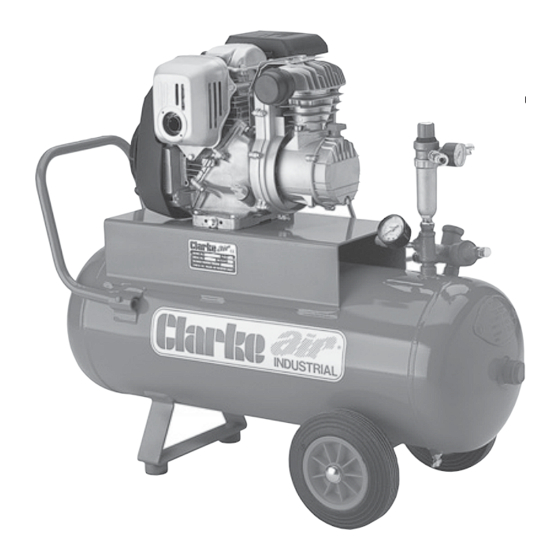
Clarke PP9ND Руководство по эксплуатации и техническому обслуживанию - Страница 9
Просмотреть онлайн или скачать pdf Руководство по эксплуатации и техническому обслуживанию для Воздушный компрессор Clarke PP9ND. Clarke PP9ND 10 страниц. Air compressor

TROUBLE SHOOTING CHART
IMPORTANT
1. Any remedial work that may be required must be carried out by a qualified engineer.
2. Switch off the engine before removing any parts from the compressor.
3. Drain the Air Receiver before dismantling any part of the compressor unit's pressure system.
4. If your compressor develops a fault do not use until the fault has been rectified.
5. For troubleshooting the engine, refer to the engine manual.
SYMPTOM
PROBABLE
Engine difficult to
Load Genie leaking
start (PP9ND)
(compressor unit is on load
during start).
Non-return valve blocked,
possibly frozen up.
Compressor unit
Load Genie defective.
constantly 'on load'
(PP9ND)
Load Genie set at a pressure
higher than the safety
valve's opening pressure.
Load Genie leaking.
Compressor
Suction filter blocked.
constantly 'on load'
Leak between compressor
and cannot attain the
block and air receiver leaks in
working pressure
or near air receiver.
required.
Valves blocked by dirt, paint,
dust or choked up.
Inspection cover or drain plug
leaking.
Pressure gauge defective.
Unit too small in relation to
air consumption.
Compressor worn.
REMEDY
Stop engine and empty air
receiver. Clean or replace
Load Genie
Thaw Load Genie out (Unit must
be installed in frost-free place).
Have Load Genie serviced or
replaced
Adjust Load Genie
WARNING: DO NOT ADJUST
LOAD GENIE ABOVE MAXIMUM
WORKING PRESSURE DETAILED.
Change filter.
Tighten connection and
repair leak.
Clean or change valves.
Empty air receiver and
change seals/plugs.
Change pressure gauge.
Use a larger capacity
compressor
Have compressor overhauled or
replace it.
- 12 -
b.
PP9ND
1.
Fully open the receiver drain cock, located between the wheels.
2.
Start the engine,
according to the
instructions contained in
the engine service
manual, and allow to
run for 10 minutes.
3.
After a ten minute
period, close the drain
cock then ensure both
air outlet slding valves
are pushed fully INWARDS
to close the outlets.
Pressure will build up in the
receiver and eventually
the air governor will
operate so that the engine
runs off load. The pressure
registered on the pressure
gauge should be 100psi.
4.
Slide the outlet taps outwards to allow air to escape from the outlets, and
slowly turn the pressure regiulator clockwise. Observe the pressure gauge.
When the pressure has dropped by approx. 20psi, the regulator will cut in
again. Close the sliding outlet valves and pressure in the air receiver will once
again increase
5.
Finally, stop the engine and set the pressure regulator to zero pressure (turned
fully anticlockwise) and attach the air hose and air tool.
6.
Open the sliding valves then set the pressure regulator to full pressure and
check for air leaks at the tool and connectors.
•
If leaks are apparent, stop the engine and set the regulator to zero pressure
(fully anticlockwise), press the trigger of the tool to ensure no air is present
in the airline, then rectify the problem before proceeding.
•
If no leaks are evident, set the outlet pressure to the desired value and
proceed to use the air tool in accordance with the manufacturers
instructions.
When starting subsequently, proceed as follows:
1.
At the begining of the day, open the drain cock (see Fig.1) and allow any
condensate to drain completely, then close the cock.
- 9 -
Fig.3
