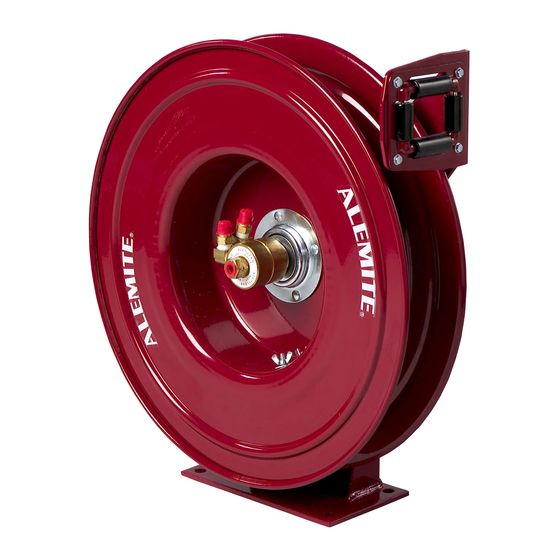
Alemite 7338-C Руководство по эксплуатации - Страница 6
Просмотреть онлайн или скачать pdf Руководство по эксплуатации для Инструменты Alemite 7338-C. Alemite 7338-C 12 страниц. Severe-duty welding hose reel

SER 7338-C
Pawl Assembly
22. Remove Retaining Ring (18) from Pawl Shaft (24).
23. Remove Washers (17), Wave Spring (22), and Pawl
(23) from the Pawl Shaft.
24. Remove the Pawl Spring from the Pawl.
Swivel Assembly
25. From the Swivel Shaft remove:
• Retaining Ring (10) .................................... Qty 1
• Washer (9)................................................... Qty 1
• Swivel Body (8) .......................................... Qty 2
• Bearing (2) .................................................. Qty 2
• Bearing (4) .................................................. Qty 1
• O-Rings (3) ................................................. Qty 4
26. Unscrew Street Elbow (5) from each Swivel Body as
required.
27. Unscrew Hose Connector (6 and 7) from each Street
Elbow as required.
Clean and Inspect
Make sure to remove the old sealant from the threads
of all components.
Clean all parts (except Swivel components) in a
modified petroleum-based solvent. The solvent should be
environmentally safe.
Cleaning Swivel Components
Clean the silicone grease from all of the Swivel
components (including O-Rings and Bearings) in brake
cleaner or naptha mineral spirits.
Do not soak the O-Rings.
Item No.
1
o-ring grooves of Swivel Shaft
2
Bearings
3
O-Ring, 9/16 " ID x 11/16 " OD
4
Bearing
8
bore of Swivel Bodies
Table 1 Swivel Components Lubricated with
Petroleum-Free Silicone Grease
Revision (12-07)
Description
Severe-Duty Welding Hose Reel
Assembly
WARNING
Lubricate the components of Swivel As-
sembly with a silicone grease that contains no
petroleum-based materials.
Dow Corning 111 is recommended.
Personal injury can occur due to explosion.
Prior to assembly certain components require
lubrication. Refer to Tables 1 and 2 for details.
Pawl Assembly
NOTE: Refer to Figures 2, 3 and 4 for com-
ponent identification on assembly proce-
dures.
1. Install Pawl Shaft (24) [threaded end first] into the
inside of Base Assembly (37).
2. Apply Loctite 242 to the threads of the Pawl Shaft.
3. Screw Nut (36) onto the Pawl Shaft.
• Tighten the Nut from 42 to 48 ft-lbs (57 - 65 Nm).
• Make sure to hold the Pawl Shaft stationary.
4. Install Pawl (23) [flat side first] onto the Pawl Shaft.
5. Install Washer (17), Wave Spring (22), and additional
Washer (17) onto the Pawl Shaft.
6. Install Retaining Ring (18) onto the Pawl Shaft.
7. Install Pawl Spring (21) into the eye on the Pawl. See
Figure 3 for proper orientation.
8. Install Screw (19) into the large diameter end of Pawl
Spring Sleeve (20).
9. Install the Screw and Sleeve assembly through the
Pawl Spring and into the Base and Shaft Assembly.
10. Install Nut (28) onto the Screw.
• Tighten the Nut securely.
Item No.
21
hooks of Pawl Spring
22
Wave Spring
24
bearing surface of Pawl Shaft
26
ratchet teeth on Power Spring Assembly
Table 2 Components Lubricated with Lithium Grease
6
Description
Alemite Corporation
