Clarke CRT 40 Инструкции пользователя - Страница 6
Просмотреть онлайн или скачать pdf Инструкции пользователя для Инструменты Clarke CRT 40. Clarke CRT 40 13 страниц. 40-piece rotary tool kit
Также для Clarke CRT 40: Инструкции пользователя (6 страниц)

4.
ASSEMBLING POLISHING BOB
• Screw the Bob on to the mandrel firmly, but do
not overdo it.
5. Assembling Abrasive Bands
• Slacken the screw on the end
of the mandrel and slide the
appropriate abrasive band on
to the rubber former, fully.
• Tighten the screw to secure
the band to the former.
6.
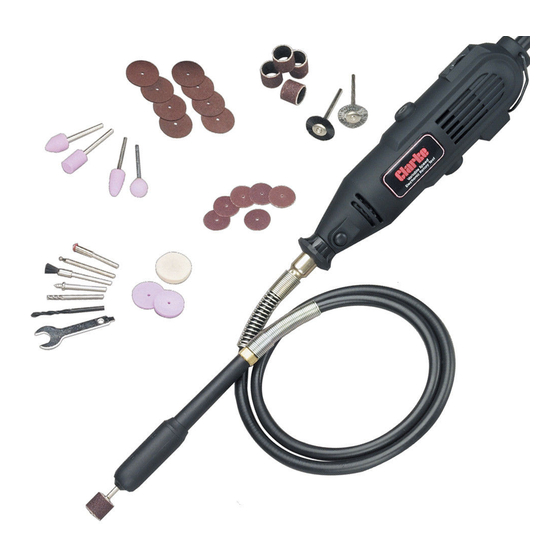
ATTACHING THE FLEXIBLE DRIVE ASSEMBLY
• Unscrew and remove the Securing Ring (3) and
retain.
• Slacken the chuck using the spanner provided,
by pressing and holding the locking button (5).
• Slide the flexible drive through the chuck and
FULLY into the collet.
• Hold back the Securing Ring (3), whilst tightening
the chuck, thereby securing the flexible drive.
• Screw the Securing Ring (3) on to the end of the
tool, taking GREAT CARE to not to cross-thread it.
• At the opposite end of the Flexible Drive, insert
the mandrel of the tool to be used into the
chuck.
To undo the chuck, pull back on the sleeve in the
direction of the arrow and hold back to lock the drive
so that the spanner may be used.
Insert the mandrel fully, then re-tighten the
chuck.
Release the sleeve to release the drive.
E
6
