Disaster Area Designs SMARTClock Gen3 Руководство пользователя - Страница 5
Просмотреть онлайн или скачать pdf Руководство пользователя для Контроллер Disaster Area Designs SMARTClock Gen3. Disaster Area Designs SMARTClock Gen3 9 страниц.
MultiJack MIDI:
Remote Switching:
If your amplifier uses a TRS / stereo jack for function switching then you can use a stereo y-cable to connect more two
SMARTClock outputs together. If you're controlling a Strymon pedal, you'll need to set your output's DIP switch to enable the
pull-up and to connect with a TRS cable.
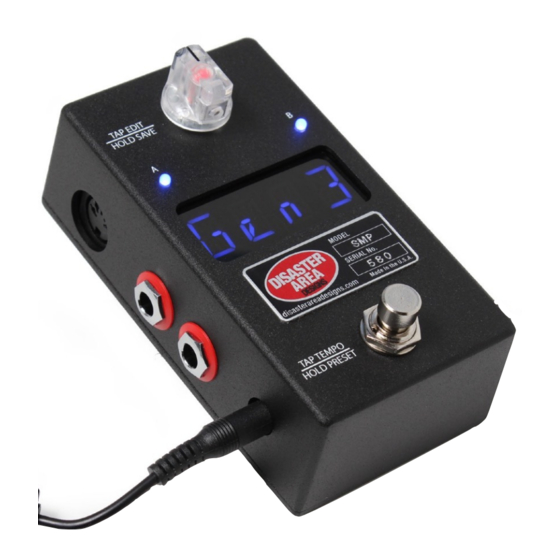
Disaster Area Designs
Some pedals feature a MIDI connection using a 1/4" jack, including devices from Chase Bliss Audio,
Empress, Alexander, and Meris. The SMARTClock can connect directly to these pedals using one or both of
its MultiJacks. Open the SMARTClock and set the DIP switches for the output you'd like to use for MIDI,
and then connect to your pedal using the correct type of cable. You will also need to set either MJ C or
MJ D = MIDI in the SMARTClock Setup menu.
Chase Bliss Audio pedals require the use of the Disaster Area MJ-CBA cable. Empress and Meris devices
can use a standard mono / TS patch cable. Please consult the manual for your pedal for information on how
to configure it to use MIDI.
You can also set the MultiJacks to MJ C or MJ D = nCLK in the Setup menu. This option will send program
changes to the selected jack but will not pass clock messages, and is useful for pedals you would like to
control without changing their tempo.
So maybe you have an amplifier with channel switching? Or a pedal with a remote switch or "favorite"
input? The SMARTClock Gen3 can handle that. Configure one or more of the SMARTClock's outputs as
TOGGLE and then you can set your amp channels or favorite switch functions to change with your
SMARTClock presets! Connect to your amp or pedal using a mono cable.
SMARTClock
Gen3
5
of
9