Disaster Area Designs micro.ghost Руководство пользователя - Страница 3
Просмотреть онлайн или скачать pdf Руководство пользователя для Медиаконвертер Disaster Area Designs micro.ghost. Disaster Area Designs micro.ghost 4 страницы. Usb midi interface

P
Y
d
OwerIng
Our
evIces
The micro.ghost can provide up to 500mA of power to the USB HOST port, for use with devic-
es that don't have their own power input.
If your device does have a separate power input, we recommend you use it. This usually
provides the most efficient power usage and lowest noise performance.
Please note that if you do power your device using the USB HOST port, you'll need to supply
the micro.ghost with enough power to run both the external device and its own circuitry.
Check with your device manufacturer for power information, but a good rule of thumb is that
you'll need to supply double the external device's rated current (mA.)
u
.
sIng the mIcrO
ghOst
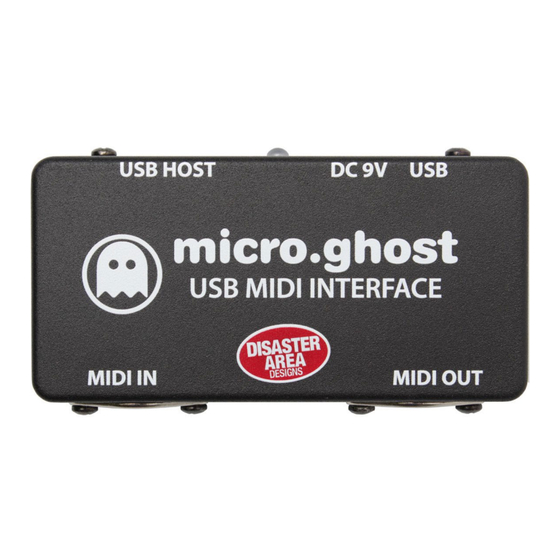
This part is pretty simple: Plug your USB-MIDI device into the port labeled USB HOST using a
suitable USB cable. Connect your MIDI controller to the micro.ghost MIDI IN port.
Power the micro.ghost using a standard 9V pedalboard power supply. When the status LED
turns green, the USB link is established and your devices should be able to communicate with
each other.
Please consult with the manufacturer of your USB device for details on how to use its MIDI
functionality.
Note that USB devices requiring a device driver, or that act as multiple devices such as Audio
Input + MIDI are not supported by the micro.ghost.
The micro.ghost will pass all MIDI messages from its MIDI IN to its MIDI OUT ports unless you
disable MIDI THRU, see the Configuration Switches section for more details.
The micro.ghost will also pass all MIDI messages generated from your USB device to the MIDI
OUT port.
