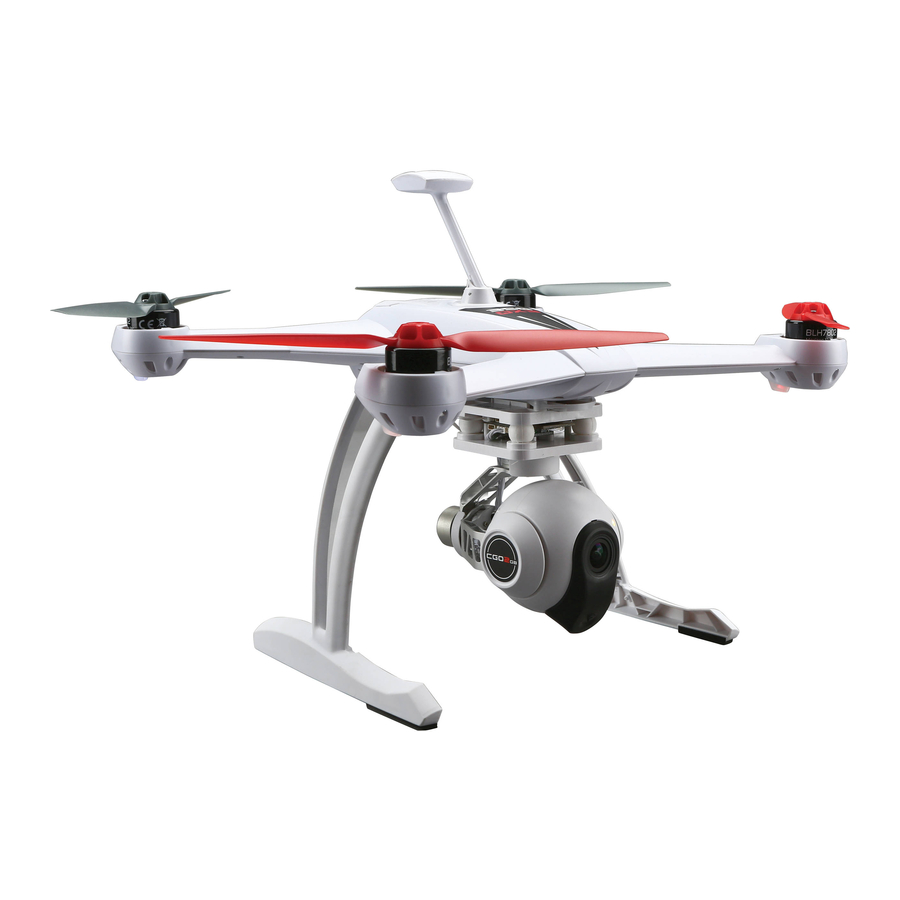
Blade 350 QX3 Руководство по эксплуатации - Страница 13
Просмотреть онлайн или скачать pdf Руководство по эксплуатации для Квадрокоптеры Blade 350 QX3. Blade 350 QX3 16 страниц.
Также для Blade 350 QX3: Руководство по эксплуатации (16 страниц)

Calibration Procedures
a
North
Rudder right
4X
c
b
4X
Bind in pressure calibration mode
Compass calibration procedure:
NOTICE: The following procedure has to be
completed within 30 seconds after entering compass
calibration mode.
1. Power the transmitter.
2. Power on the 350 QX3 and face the
quadcopter pointing North.
3. Cycle the top left transmitter switch completely
4 times as shown at the left.
4. The 350 QX3 indicates it has entered compass
calibration mode by slowly fl ashing the LED orange.
5. When the LED begins to fl ash rapidly, complete
d
all 4 rotations of the 350 QX3 as shown in the
illustration at left within 30 seconds, rotating the
quad 45° counterclockwise between each rotation.
6. Hold the quad level, facing North and check the LED.
Green = Ready
Red = Repeat Compass Calibration
Accelerometer calibration procedure:
1. Power on the transmitter and 350 QX3 and
place the quad on a fl at, level surface.
2. While holding the bind switch on the transmitter,
cycle the top left switch 4 times as shown at the left.
3. The 350 QX3 will emit a series of slow tones
followed by a series of rapid tones, indicating the
calibration has started.
4. Do not move the 350 QX3 while it performs the
accelerometer calibration procedure.
5. When the procedure has completed, the 350 QX3 will
emit a "happy" tone and the LED will display green
indicating the calibration was successful. If it emits a
"sad" tone and the LED displays solid red, repeat the
calibration procedure.
Pressure Sensor Calibration
The pressure sensor is calibrated at the factory on the
350 QX3. Recalibration should only be necessary if you
replace the sensor.
1. Place the 350 QX3 in a cold area. Allow it to remain
in the cold for 30 minutes or more.
2. Bring the 350 QX3 out of the cold and into a warm
area. The greater the difference in temperature
between the cold and warm areas, the more accurate
the calibration will be.
3. Ensure your transmitter is off and then connect a
fl ight battery to the 350 QX3Power the 350 QX3 ON
and let it initialize. The status LED will remain off.
4. Hold the 350 QX3 upside down until the status LED
fl ashes blue, indicating it has entered bind mode.
5. Set the quadcopter back upright.
6. Bind your transmitter to the 350QX3 with the rudder
stick fully to the right. The LED will blink red and blue
rapidly. Leave the aircraft and transmitter powered
on and allow the aircraft to warm up for 10 minutes.
Do not move the aircraft during this time.
7. After 10 minutes the motors on the aircraft will beep
to indicate the calibration is complete. Power off the
aircraft and then your transmitter.
If the 350 QX3 displays the failed calibration code, power
off the aircraft and then begin the pressure calibration
procedure again.
13
EN
