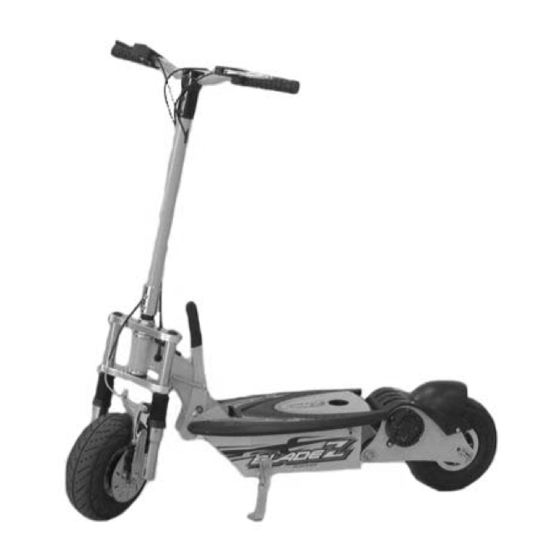
BLADEZ PB-SM 818 Справочник по продукции - Страница 11
Просмотреть онлайн или скачать pdf Справочник по продукции для Скутер BLADEZ PB-SM 818. BLADEZ PB-SM 818 15 страниц. Electric power board

- 1. Battery Maintenance
- 2. Charging Instructions
- 3. Table of Contents
- 4. Getting to Know Your Bladez Power Board
- 5. Getting Started
- 6. Folding and Storage
- 7. Charging System
- 8. Recommended Tools
- 9. Braking System
- 10. Tires and Wheels
- 11. Adjusting the Head Unit
- 12. Chain Care
- 13. Troubleshooting Guide
- 14. Other Questions
CHARGING SYSTEM
This unit comes standard with a regulated 24V charger.
NOTE: It is not advisable to leave your Powerboard plugged in for more than 24 hours.
ALWAYS CHARGE YOUR POWERBOARD PRIOR TO STORAGE
To re-charge your XTR-COMP II, simply connect the charger cord to the charging port
that is located on the side of the scooter, as described in GETTING STARTED Charging
section.
Once the status light on the charger turns green, your Power Board is now fully charged
and ready for use.
RECOMMENDED TOOLS
To make adjustments and to service the Bladez XTR-COMP II Power Board you will
need the following tools:
Allen Keys:
Wrenches:
Large Adjustable Crescent Wrench
Philips Head Screwdriver
Oil, Grease or Lubricant (such as WD-40)
BRAKING SYSTEM
The XTR-COMP II uses a front wheel disc/calliper system activated by a hand lever (on
the left side of the handlebar). The brake is activated by depressing the BRAKE LEVER
with your left hand. The XTR-COMP II is equipped with a controller that temporarily
disengages the power to the motor when the BRAKE LEVER is depressed.
Practice braking on a smooth, dry surface to get used to the feeling of the braking
system. Braking distance is affected by wet conditions and loose and uneven riding
surfaces.
Adjusting the Brakes
The Brakes on the XTR-COMP II should come fully adjusted from the factory. However,
it may be necessary to adjust the brakes from time to time.
To adjust the brakes:
Loosen the tension screw on the Brake Lever by rotating it counter-clockwise until the
wheel spins freely.
3/4/5/6mm.
8/10/13/14/17 mm Open and ring combination.
Page 11
