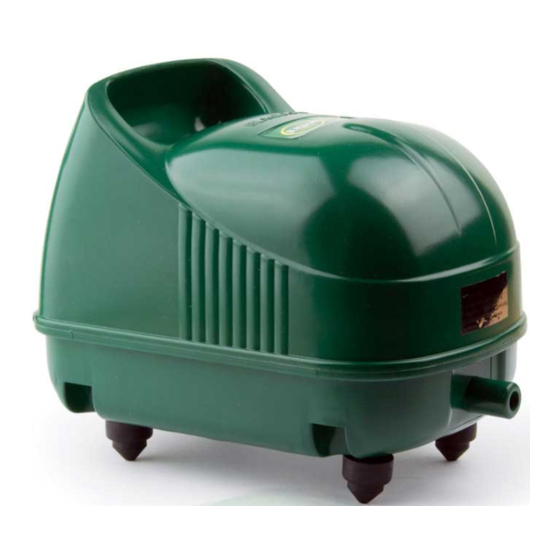
Blagdon Koi Air 65 Памятка по эксплуатации - Страница 9
Просмотреть онлайн или скачать pdf Памятка по эксплуатации для Газонное и садовое оборудование Blagdon Koi Air 65. Blagdon Koi Air 65 16 страниц. Air pump
Также для Blagdon Koi Air 65: Руководство по эксплуатации (9 страниц)

Location
Install the pump in a dry weatherproof covered area, such as a shed or garage.
Install the pump and mains connections where they will not come into contact with water.
Ensure the pump is installed above the pond water level to avoid back siphoning of the pond
water into the air pump in the event of the power supply to the pump being cut.
Alternatively, if the air pump can only be installed below the pond level install Aqua Air
Check Valves into each piece of air line. The pump should be located on a firm surface that
will not vibrate and act as a sounding board, a concrete floor or patio slab are ideal.
Position the pump in a clean and dust free environment. Excessive dirt will block the air
filter reducing the air pumps performance and speed the wear of replaceable parts. Ensure
the pump or mains connection cannot become wet or be accidentally splashed.
Connecting the Air Line and Air Stones
Your Koi Air pump has been designed to run continuously and ideally unrestricted.
If possible, this will maintain maximum performance and the best possible life span for all
replaceable parts e.g. diaphragms, flapper valves.
Ideally all outlets should have an air line and air stones connected and used, this will give
the pond maximum aeration and ensure that damaging back pressure is kept to a minimum.
Air stones will become blocked and start to reduce the performance of the pump over time,
therefore it is necessary to replaces air stones every twelve months as a minimum or more
frequently depending on the cleanness of the air pumps environment.
IMPORTANT: If all the pump outlets or performance is not needed ensure that
!
one of the valve outlets is opened in order to bleed off some of the airflow,
therefore adjusting the output to the remaining air stones.
This will noticeably reduce noise levels by reducing the back pressure on the pump and
extend the life of all replaceable parts.
Connect the outlet pipe supplied and the metal valve air divider using the clips to secure.
Insert one end of each piece of air line required into the outlet nozzles of the air divider.
Place air stones onto the other end of the air line. These should then be placed into the pond
and /or filter.
Ensure that all the outlet valves are in the fully open position before the air pump is started.
Switch on the air pump. If the overall air output is to high it is recommended that one of the
air stones and air lines is removed and the remaining valves opened to reduce the air output
to the remaining air stones.
Adjustments to individual air stones can now be made. Shut off the individual valves in
small increments until the desired output is achieved.
The air stones should be positioned to provide maximum aeration and circulation in the
pond. (Note: For use in winter, air stones should be placed no lower than 30cm from the
bottom of the pond, to ensure the warmer, lower water regions remain undisturbed).
7. INSTALLATION
