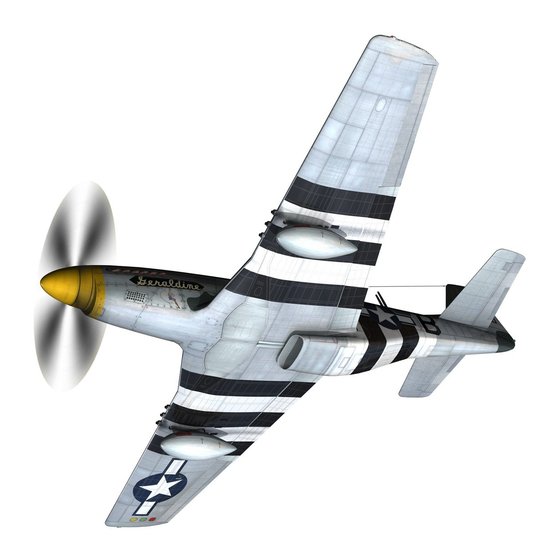
3D Creations North American P 51 D Mustang Инструкция по сборке Руководство - Страница 4
Просмотреть онлайн или скачать pdf Инструкция по сборке Руководство для Игрушка 3D Creations North American P 51 D Mustang. 3D Creations North American P 51 D Mustang 15 страниц. Paper scale model kit

Locate part #5 and cut it out. Shape the piece in to a U before mounting.
The white tabs at the tail are to be creased upward at a 90-degree angle for the tail mount
that comes later.
Cut out part #26. And fold with a crease along the paint scheme lines. Make the fold as
shown in figure 9. Mount as shown in figure 10. This completes the fuselage and it can
be set aside for now.
Landing Gear Assembly
At this point you have the option to build the kit
with landing gear or without. If you chose to build
with out gear skip this section.
Locate parts #41 and #42. Cut these parts out
using the black boarders that surround them. These
parts are to be used as templates for the
construction of the gear struts. Carefully notch
both of the points indicated in figure 10. I use
fingernail clippers to notch the toothpicks. Be
careful not to cut them in half. The notches at
these two points allow you to bend the toothpicks
at those points without separating them.
This adds strength and makes construction much easier. Super Glue the joints of
toothpicks directly to each other and the template. After the glue is set cut away the
excess template. Trim away as much as possible with out weakening
piece #41 to shape then Super glue it on the opposite side of the strut. The toothpicks
should now be sandwiched between the two templates. Repeat this process for the second
strut. Cut out part #28 and #29. Attach part #28 as shown in figure 11. Use Super Glue
for all applications regarding the landing gear unless otherwise specified. Wrap part #28
around the strut and attach see figure 12. Roll the strut 180-degrees and that will expose
what is yet to be covered on the bottom of the piece. See figure 13. Now place part #28
on the strut as shown in figure 14. Wrap and glue into place. Glue part #39 with glue
stick as shown in figure 15 and wrap tightly and evenly to give you a finished look as
seen in figure 16.
(Do not crease).
structure. Cut
the
4
