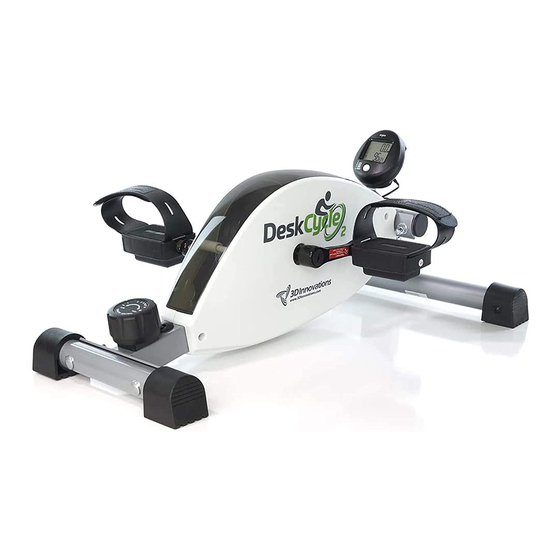
3D innovations DeskCycle Руководство пользователя - Страница 15
Просмотреть онлайн или скачать pdf Руководство пользователя для Оборудование для фитнеса 3D innovations DeskCycle. 3D innovations DeskCycle 16 страниц. Using the large display manual
Также для 3D innovations DeskCycle: Руководство пользователя (12 страниц), Руководство (3 страниц)

PROBLEM: I CAN'T INSTALL ONE OR BOTH OF THE PEDALS
Are You Installing The Correct Pedal Into The Correct Pedal Arm?
The first thing to keep in mind is that there is a left pedal and a right pedal. They are different from
each other.
•
The Left pedal is marked with an L.
•
And the Right pedal is marked with an R.
•
The marking is on the end of the pedal shaft.
•
The pedal arms are also marked.
Make sure you install the left pedal into the left pedal arm and the right pedal into the right pedal arm.
See the "Assembly" section in this manual for more details.
Are You Screwing The Pedals In Correctly?
•
Make sure the pedal is straight when you screw it in. The pedals should not be screwed in at an
angle. This will cause cross-threading which can damage the threads.
•
Rotate the shaft with your fingers to get the threads started.
•
If you can't get the thread started with your fingers then it is cross threaded. Unscrew the pedal,
make sure the pedal is straight, and then try again.
•
The right pedal screws in clockwise
•
The left pedal screws in counter-clockwise.
If you are still having problems, contact us for assistance.
PROBLEM: THE DESKCYCLE MAKES NOISE WHEN I PEDAL IT
Try each solution below to see if it solves your problem. If the noise is still there after you've tried
these solutions, contact us so that we can help you solve the problem.
Solution 1: Tighten The Pedals
Make the pedals as tight as possible using a 15mm wrench.
Important! Using the bike with loose pedals will eventually damage the pedal arm threads. If the
pedals ever come loose, you should immediately stop using the bike and apply Blue Loctite® to the
pedal threads. See section below for instructions.
Solution 2: Tighten The Nuts That Attach The Legs
Each leg is attached to the bike using two nuts. You can use a 13mm wrench to tighten these nuts. Be
careful not to over-tighten the nuts.
PROBLEM: THE PEDALS CAME LOOSE WHEN I USE THE BIKE
This can happen if the pedals were not properly tightened when the bike was first assembled.
If this happens you should immediately stop using the bike and apply Blue Loctite® to the pedal
threads. See section below for instructions.
PROBLEM: THE PEDALS WON'T STAY TIGHTENED OR ARE STRIPPED
Using the bike with loose pedals will eventually damage the pedal arm threads. If caught early,
applying Blue Loctite® to the pedal threads will solve the problem. See section below for instructions.
If the threads are too damaged, the pedal won't stay tightened even with Blue Loctite® applied.
In this case you can contact us about replacing the pedal arm. If the bike is under warranty we will
replace the first pedal arm for free. Important! Once the pedal arm has been replaced, you should
apply Blue Loctite® to the threads of both pedals. This will eliminate the chance of this happening
again.
How to Apply Blue Loctite to the Threads
1. Unscrew the pedal. Use a 15mm wrench.
2. Spread Blue Loctite® on the threads of the pedal shaft. You can get Blue Loctite® at any hardware
store or on Amazon.
3. Screw the pedal back into the pedal arm. Make the pedal as tight as you possibly can.
4. Wait 24 hours before using the bike.
Troubleshooting
13
