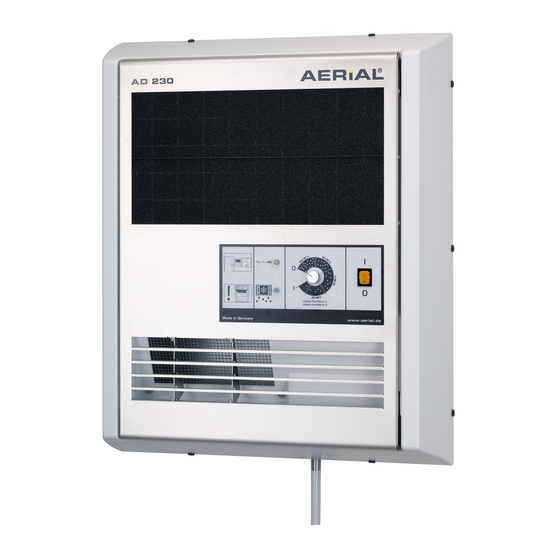
Aerial WT 250-E Руководство по эксплуатации - Страница 9
Просмотреть онлайн или скачать pdf Руководство по эксплуатации для Осушитель Aerial WT 250-E. Aerial WT 250-E 17 страниц. Dehumidifier / laundry dryer

The dryer is lifted from above in such a way into the wall rail that the fastening bar
(Pt. 1.4 – Pos 6) hangs on the back of the dryer in the wall rail.
Check the position of the dryer with a spirit level!
With the help of the distance holder (Pt. 1.4 – Pos. 7) you can change the
inclination. The dryer must hang on all axles straight!
Fix the dryer with the two fixing screws at both ends of the wall rail.
6.Electrical connection
Before connecting the air dryer, the following items must be checked:
Ø Does the mains voltage coincide with the voltage of the appliance?
Ø Adequate fusing of socket and supply system?
Ø Has a residual-current-operated circuitbreaker (r.c.c.b) been installed?
Ø If a cable drum is used: has it been unwound completely?
Ø Is the appliance connector suitable for the building socket?
Ø Is the socket provided with an earth connection?
ATTENTION:
Before putting the air dryer into operation, the technical data of the appliance
should be compared to the conditions prevailing in the room of installation!
Use excluding the original mains cable! In the case of loss or damage you receive
original mains cables in different lengths with your Entfeuchter supplier.
Ø Connect the equipment plug of the main cable with the equipment plug socket of
the unit. (buttom side, left)
Ø Put the plug into a suitable socket.
7.Putting into operation
ATTENTION:
Before putting the air dryer into operation, the instruction manual should be studied
carefully. Thus, damages by a false or inappropriate operation as well as by
inadequate environmental conditions can be avoided.
For using the air dryer, please proceed as follows:
Ø Install the dryer as explained in Pt. 5.
Ø Connect the dryer to a socket like explained in Pt. 6.
Ø Make sure that a condensate hose is connected and guided with slope away
from the dryer, safe into a sump. (Pt. 10).
Ø Switch on the dryer on On-/Off-Switch (Pt. 8)
Ø Adjust the humidity value like explained in Pt. 9.
Page 9 of 17
