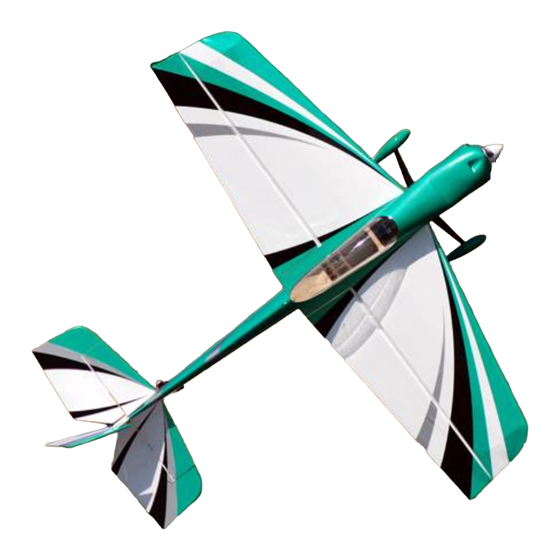
3DHobbyShop.com Vyper 46" ARF Руководство по сборке - Страница 17
Просмотреть онлайн или скачать pdf Руководство по сборке для Игрушка 3DHobbyShop.com Vyper 46" ARF. 3DHobbyShop.com Vyper 46" ARF 19 страниц.

Mount the receiver either to the fuselage side or to the balsa piece marked "Rx" and glue into fuselage.
Mount the lipo battery to the battery tray using the included Velcro strip and Velcro "seatbelt" strap as
Plug your servos and ESC into your receiver, attach your battery and test your radio system. Check for
correct motor running direction now, before your prop is installed. Never run your motor inside a
building with the prop installed. Check for correct servo direction, reverse as necessary. Center all
control surfaces and tighten pushrod adjusters securely.
Scott's Tip:
Your aircraft has an extremely wide CG range. While some pilots prefer a
dramatically aft CG for 3D flight, or a conservative forward CG for precision aerobatics, I
generally split the difference and fly with the CG set just slightly forward of neutral. What
this means is that the aircraft will require only the lightest breath of down elevator during
inverted flight. I've found that this setting has excellent tracking for precision and no
coupling during KE flight, while still offering excellent 3D performance. My personal setup
is as follows:
Reasonable CG range
Preferred CG location
The easiest way to measure CG is done using your fingertips holding the model
upside down. It is also the least precise. For more precision, there are several commercially
available balancing units. Realistically, however, I generally get the model close on the CG
stand, followed by fine-tuning based on the feel of the model in the air. Fortunately, this
aircraft has a very long battery tray, allowing you to set it up to match your preferred flying
style.
shown.
Setting CG
120mm-140mm measured at the wing root
130mm
17
