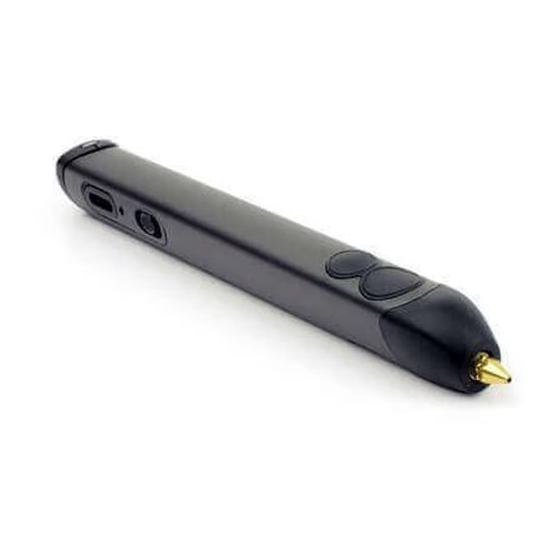
3Doodler 2.0 Руководство - Страница 3
Просмотреть онлайн или скачать pdf Руководство для Аксессуары 3Doodler 2.0. 3Doodler 2.0 4 страницы.
Также для 3Doodler 2.0: Краткое руководство по эксплуатации (2 страниц), Руководство пользователя (10 страниц)
®
If the plastic/filament is not extruding, it may be because the
existing plastic/filament (A) is too short or has fed beyond the
A
gearbox, and you will not be able to reverse it. Please use a new
strand of plastic/filament (B) or the Cleaning Tool to feed the
B
remaining plastic/filament through the pen.
Note: For those of you who are curious, the distance between
the gearbox and the nozzle is less than one inch.
A
Step 6: Unloading/reversing your plastic/filament
To unload the plastic:
1. Ensure that the device is still at the correct temperature required
for the type of plastic/filament being used:
HI ("High") = BLUE LED indicator
LO ("Low") = GREEN LED indicator
Otherwise, please press one of the
extrusion buttons and wait for the
3Doodler to heat up again.
2. Double click either FAST (2) or
SLOW (3) extrusion buttons. The LED
3
indicator (5) will flash while reversing.
5
3. When the plastic/filament stops
moving in reverse you may gently
take it out from the back of the pen
Step 7: Power down
To safely turn the pen off, move the slide switch to the OFF
position. Allow the pen to cool completely before storing.
PRO TIP:
Optimize your melt
temperature; using the mini-screw
driver
, tweak your 3Doodler's melt
13
temperature +/- 5°C, for minor flow
adjustments and expertly consistent
Doodles. To do this, insert the mini
screw driver into the potted
Temperature Adjuster
on the control
10
panel. Turn the mini screw driver
clockwise to increase the melt
temperature, or anti-clockwise to
decrease the melt temperature.
NOTE: Our 3Doodler is a sturdy and awesome tool, but
like any mechanical device it needs a break now and then.
We suggest giving it (and yourself) some downtime after 2
hours of continuous use (just a 30 minute break or so).
3Doodler 2.0
WARNINGS & NOTICES
B
3
2
2
.
12
13
ENGLISH
TROUBLESHOOTING AND CLEANING THE PEN
If the extrusion of plastic/filament has slowed down, stopped, or if
you are having trouble inserting plastic into the pen, please give the
plastic/filament a gentle clockwise twist while pushing it down the
shaft of the 3Doodler.
If the nozzle is loose, please gently tighten it, stopping when you
first feel resistance, and being sure to do so while the pen is hot.
Try to extrude again.WARNING: DO NOT force the nozzle or
overtighten it, as you could permanently damage your
3Doodler.
If this does not work, we suggest cleaning the 3Doodler. Please
follow the steps below:
1. Ensure the LED light is BLUE or GREEN before starting this
process (indicating that the pen is hot).
2. Start by using the nozzle removal tool
and unscrew the nozzle anti-clockwise
14
while the pen is hot. Please be careful not
to touch the nozzle!
3. Once you have removed the nozzle,
double click either the FAST (3) or SLOW
(4) speed buttons to set the pen in
3
reverse. While reversing insert the
Unblocking Tool
of the pen and gently push out any
excess plastic, removing it from the back of the pen.
4. Turn the pen off and allow it to cool down a little, but not fully.
10
Screw the nozzle on clockwise a few turns, but don't tighten it yet.
Turn the pen back on; once it's hot and the LED is either blue or
green, tighten the nozzle with the nozzle removal tool, stopping
when you first feel resistance. WARNING: DO NOT force the
nozzle or overtighten it, as you could permanently damage
your 3Doodler.
®
WARNINGS & NOTICES
2
through the front end
8
3Doodler 2.0
ENGLISH
Turn nozzle
removal tool
anti-clockwise
14
8