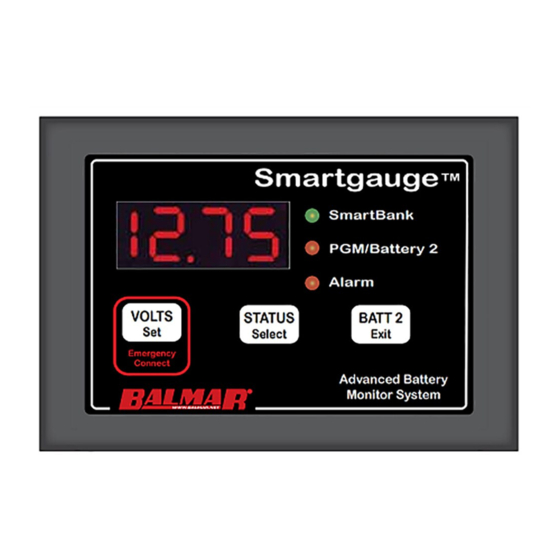
Balmar Smartgauge Руководство по установке и эксплуатации - Страница 15
Просмотреть онлайн или скачать pdf Руководство по установке и эксплуатации для Измерительные приборы Balmar Smartgauge. Balmar Smartgauge 20 страниц. Battery monitor

PAGE 15
SECTION 4.8 – SET UP MODE – MENU LOCK
The last item in the set-up menu will display Loc0. This allows access to
the set-up menu to be denied.
Pressing STATUS will alternate between Loc0 (meaning lock is disabled)
and Loc1 (meaning lock is enabled). Setting Loc0 will allow Smartgauge to
continue to operate exactly as before. Setting Loc1 will prevent future ac-
cess to the set-up menu. All other functions of Smartgauge remain iden- ti-
cal. If Loc1 is set, then any future attempts to enter the set-up menu will be
completely ignored. In order to unlock Smartgauge™ it will be necessary
to attempt to perform a "reset to factory defaults".
If the lock is disabled (Loc0), then "reset to factory defaults" will operate as
usual. If the lock is enabled (Loc1) then attempting to perform a "reset to
factory defaults" will not do so. It will simply unlock the unit to, once again,
allow access to the set-up menu.
SECTION 5.0 – ERROR CODES
Error codes do not indicate a problem with Smartgauge™. They indicate a problem with the installation or other
equipment such as chargers. For instance, a continual "E03" error signifies a charger fault, not a Smartgauge™ fault.
With all "Exx" type error codes, the code is displayed alternately with the current display. If the display has gone into
sleep mode, the error code will still be displayed. This is to ensure that an error does not go unnoticed
The error code will continue to be displayed after the fault condition that caused the error has cleared. This means
that if, for instance, the charger is intermittently faulty, and occasionally charging at a much higher voltage than it
should be, this would force an error "E03" which would remain in the display even after the charger had gone back to
functioning correctly. In order to clear the error code simply press any button.
If another error occurs while an earlier error is displayed, the new error code will take precedence. The exception to
this is the unique case of an "E01" (lost power) error. This error takes precedence over all other errors.
"E01" – Power was lost and reapplied.
If power to the Smartgauge is lost, the Smartgauge™ has no way to to
determine the duration of power loss. Therefore, the "E01" may indicate that the
charge status may be incorrect and that any primary status alarms will have been
disabled. Alarm set points will still be as they were last set but the actual alarm will
be switched off and will remain so until re enabled by the user. Any low voltage
alarms or secondary alarms will remain set as they were prior to the power loss.
Pressing any button will clear the "E01" error code. The display will then show
the time in hours and minutes since power was reapplied (up to a maximum of
99 hours, 59 minutes). Pressing any button will clear this display. If no button is
pressed, the display will time out after 2 minutes then revert to normal
operation. While showing the time since re-power, the PGM LED will flash.
As with all errors, using the Secondary Alarm function described in the section regarding the set-up menu it is
possible to set the "E01" error to trigger the alarm output, perhaps to sound an audible alarm or light up a warning
light.
"E02" – Battery voltage has been below acceptable level for battery type.
Each battery type has certain voltage and time limits, which, if exceeded, may
damage the batteries.
For instance if a deep-cycle lead acid battery experiences a terminal voltage
lower than 10.2 volts for any appreciable length of time it may cause serious,
immediate, permanent damage to the battery. Smartgauge™ has different voltage
and time limits for each battery type. If this limit is exceeded then Smartgauge™
will generate an "E02" error. This error will alert the user to the problem. Be
