ClearOne Aura Xceed BMA Краткое руководство по эксплуатации - Страница 8
Просмотреть онлайн или скачать pdf Краткое руководство по эксплуатации для Конференц-система ClearOne Aura Xceed BMA. ClearOne Aura Xceed BMA 12 страниц.
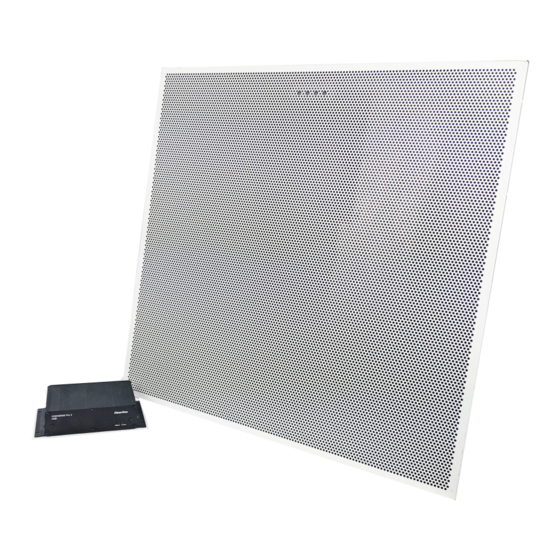
Xceed™ BMA
Install the Components
BMA CTX
1. Optional:
On the BMA CTX back panel (see Figure 1 on page 8), with speaker wire (not included), connect two loudspeakers
to the Phoenix Euroblock connectors (a)
2. Move the Power Select sliding switch (c) to the right, towards the P-Link In connector (d)
3. Complete the steps indicated in the BMA Surface Mount Kit Installation Guide
Versa USB
You can mount the Versa USB in the following ways:
•
On the underside of a table
•
On a wall
Note: Mounting hardware such as screws and anchors are not included with the Versa USB.
Required Tools
•
No. 1 Phillips screwdriver
•
T15 Torx screwdriver
•
Level (to level the Versa USB)
•
Drill bits appropriate for anchors
•
Electric drill
•
Drywall saw (for cutting hole in wall or ceiling)
Mount the Versa USB on the Underside of a Table
Select your hardware based on your specific installation needs.
1. Determine the location for the Versa USB.
2. Use a pencil to mark on the table the location of four mounting
holes that align with the mounting holes on the Versa USB
mounting ears.
3. Determine the proper depth and diameter for the holes.
4. Drill four pilot holes for #6 or M3.5 screws.
5. Align the mounting holes on the Versa USB mounting ears with
the pilot holes.
6. Use four #6 or M3.5 screws to attach the Versa USB to the
table.
Mount the Versa USB on a Wall
Select your hardware based on your specific installation needs.
1. Determine location for the Versa USB.
2. Use a pencil to mark on the table the location of four mounting holes that align with the mounting holes on the
Versa USB mounting ears. If needed, use a level.
3. With the proper size drill bits, drill four pilot holes for fasteners/anchors.
7
QSG-0091-002v1.2 May 2021