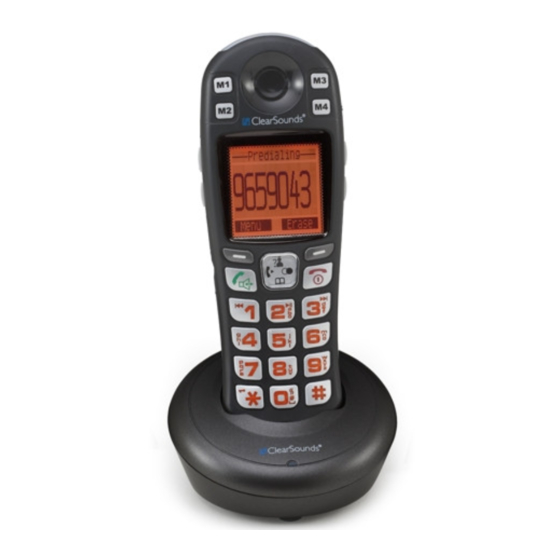
ClearSounds A1600E Краткое руководство по эксплуатации - Страница 8
Просмотреть онлайн или скачать pdf Краткое руководство по эксплуатации для Телефон ClearSounds A1600E. ClearSounds A1600E 19 страниц. Amplified cordless expandable handset
Также для ClearSounds A1600E: Руководство по эксплуатации (20 страниц), Установка Quide (2 страниц), Краткое руководство по эксплуатации (2 страниц)

Handset
Answering machine or voicemail
Before you get started with setting up your new
phone, it is important for you to decide how you
will store messages. The answering machine and
voicemail service each have unique features and
benefi ts. Voicemail is purchased through your tele-
phone service provider.
You must choose one method as a primary message
retrieval method. By default, the answering machine
is turned off. To turn on the answering machine and
set it up, see page 77 in the Clearsounds A1600
DECT 6.0 Operating Manual .
Answering machines do not pick up incoming calls
when the line is engaged. You can primarily use the
message machine and purchase voicemail service
to pick up incoming calls when you are on the line
with another caller. To do this, you must set the
number of "rings before pickup" for the message
machine to be less than the number of rings before
voicemail pickup. The number of rings before
voicemail pickup is determined when you set up
voicemail with your service provider.
8
Your phonebook
Store phonebook entries
To store phonebook entries in a handset
1.
Press
beneath Menu.
2.
Press
and scroll to Phonebook, and then
press
beneath Select.
3.
Take one of these steps:
•
For the very fi rst entry, press
Select, and then press
•
If entries exist, press
Name? appears on the screen.
4.
Press alphanumeric keys to enter the name,
and then press
beneath Save.
Number? appears on the screen.
5.
Press alphanumeric keys to enter the number
(no dashes are necessary), and then press
beneath Save.
6.
Press
and scroll to the ringtone of your
choice for this caller, and then press
neath Save.
7.
Press
.
beneath
to select New.
beneath Select twice.
be-
29
