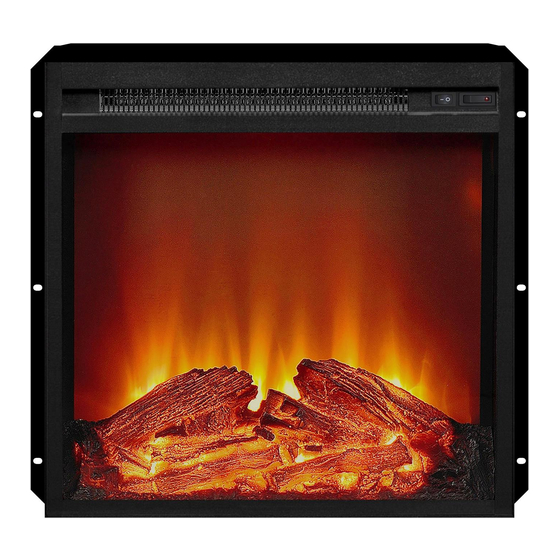
Altra F18V66L Руководство по эксплуатации для домовладельцев - Страница 3
Просмотреть онлайн или скачать pdf Руководство по эксплуатации для домовладельцев для Крытый камин Altra F18V66L. Altra F18V66L 19 страниц.
Также для Altra F18V66L: Руководство по эксплуатации для домовладельцев (7 страниц)

Position your completed mantel close to its final location. Make sure you can access the
back of the mantel as your electric fireplace appliance will be installed from back.
Using a Phillips head screwdriver, remove the screws
and the metal mounting center opening. Next unpack
the electric fireplace appliance carefully. Position the
appliance behind the fireplace with front facing the
wood mantel. With the help of an adult assistant, lift the
appliance and gently slide it into the opening in the
mantel. Make sure the appliance is centered left and
right in the opening. Be careful when placing appliance
and adjusting, bottom of appliance could scratch the
finish of the base/hearth of your fireplace. Re-attach the
mounting brackets with the Phillips head screwdriver,
and supplied screws.
DO NOT OVER TIGHTEN. With the help of an assistant,
carefully lift completed unit and place it with the front
facing out in the final location you have chosen for your
fireplace. Make sure to secure the electrical cord before
lifting or moving completed fireplace. When choosing a
final location, make sure you will have clear access to
grounded electrical outlet.
Grounding Instructions:
This heater is for use on 120 volts. The cord has a
plug as shown at (A) in figure 1.An adapter as shown
at (C) is available for connecting three-blade
grounding-type plugs to two-slot receptacles. The
green grounding lug extending from the adapter must
be connected to a permanent ground such as a
properly grounded outlet box. The adapter should not
be used if a three-slot grounded receptacle is available.
NOTE: Adapters are NOT for use in Canada
INSTALLATION INSTRUCTION
Read and follow all instructions in this manual before
operating your new fireplace.
3
Figure 1
