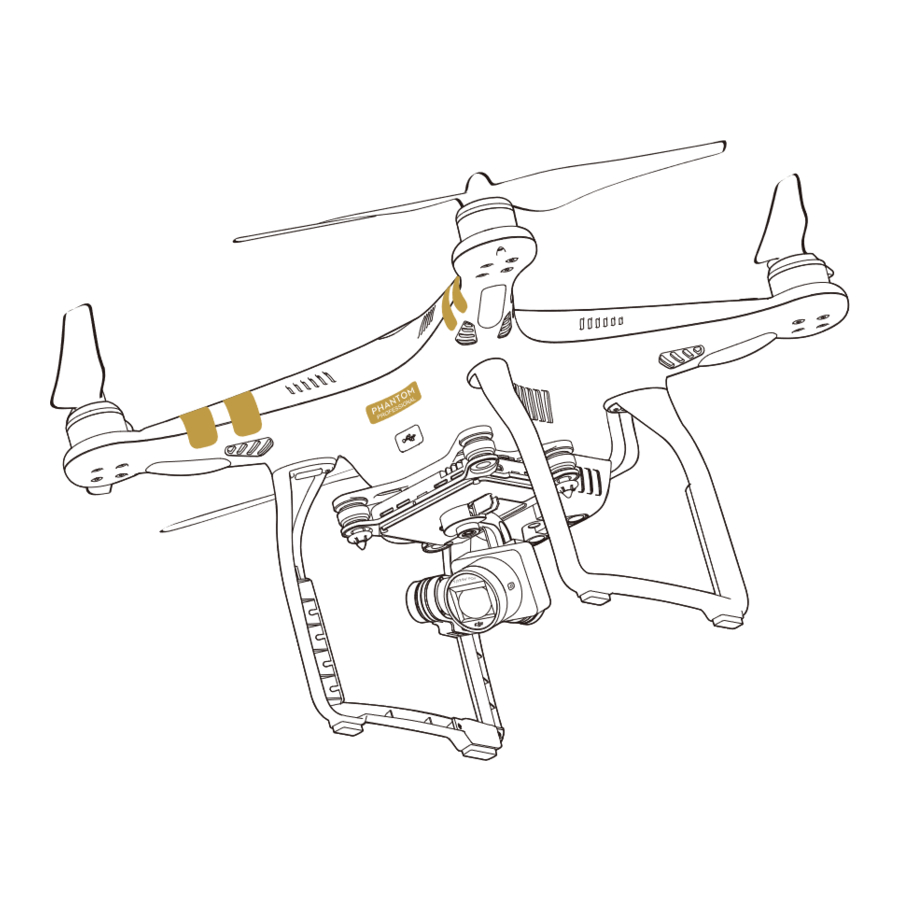
dji PHANTOM 3 PROFESSIONAL Расширенное руководство - Страница 15
Просмотреть онлайн или скачать pdf Расширенное руководство для Дроны dji PHANTOM 3 PROFESSIONAL. dji PHANTOM 3 PROFESSIONAL 16 страниц. Intelligent flight battery heater
Также для dji PHANTOM 3 PROFESSIONAL: Краткое руководство по эксплуатации (10 страниц), Краткое руководство по эксплуатации (8 страниц), Руководство пользователя (3 страниц), Краткое руководство по эксплуатации (4 страниц)

DJI Phantom 3 Advanced Manual
Advanced Settings
Shooting images under backward angle
When you fly with the drone to create a 3D image of the area, you must take photos from three angles:
straight down, with a forward tilt and a backward tilt. This way, you will capture all sides of objects in
the field. Unfortunately, the gimbal of the drone can't tilt backwards. In order to capture photos from
the third perspective, you should change the course angle 180 degrees. This way, the drone will be
flying the path in reverse and with the same tilt as the second perspective, you will capture the objects
from the exact opposite angle.
Camera settings (by van Arkel, 2019)
If you wish to adjust the camera settings. This can best be done via the DJI GO app on the
iPad. The changes that are made in this app will automatically be changed in the DJI GS Pro
app too. In the DJI Go app, click on the 'settings' symbol under the 'capture photo' button
(you have to be connected to the drone to do this).
Recommended settings:
ISO: 200 (little distortion)
Diaphragm: auto
EV = -0.7 or -0.3 for nature
Shutter: 1/15 for inside, 1/125 ... 1/150 ... 1/1000 at F8 (diaphragm) for outside
Single shot: is good for environments without movement
Image size: 4:3
Image Format: RAW is good for Adobe Lightroom, but this does take up a lot of storage. If storage is
not a problem, you could also choose RAW+jpeg. The jpegs will then be used for quick visualization
and the RAW's will contain the uncompressed photos. Each photo has its own spectral profile. This is
exported with the photo and can be changed in ArcGIS if the colors are not properly visualized. You
can then adjust the colors by going to Layer Properties | RGB | Composite | Stretch Type: 'NONE'.
White Balance: Custom: 5200 K (Kelvin, color temperature) is good for outside; 3000 K for inside.
White balance could give a pinkish glow to green grass.
Style Standard (contrast): Color: Normal.
Ideally you bring a laptop with you to the field on which Adobe Lightroom has been installed so you
can check the quality of the photo's in the field. You can, however, also work just fine without if you
do not intend to use the imagery in the highest resolution or for further research.
For more advanced settings of the DJI Phantom 3 Advanced, please take a look at the extensive user
manual:
https://dl.djicdn.com/downloads/phantom_3/User%20Manual/Phantom_3_Advanced_User_Manual
_v1.8_en.pdf
or check these video tutorials:
https://www.dji.com/nl/phantom-3-
adv/info?redirect_info=true#video
For more advanced settings of the DJI GS Pro app, please take a look at the user manual:
https://dl.djicdn.com/downloads/groundstation_pro/20181102/GS_Pro_User_Manual_v2.0_EN_201
811.pdf
Last updated March 27 2020
Page 15 of 16
