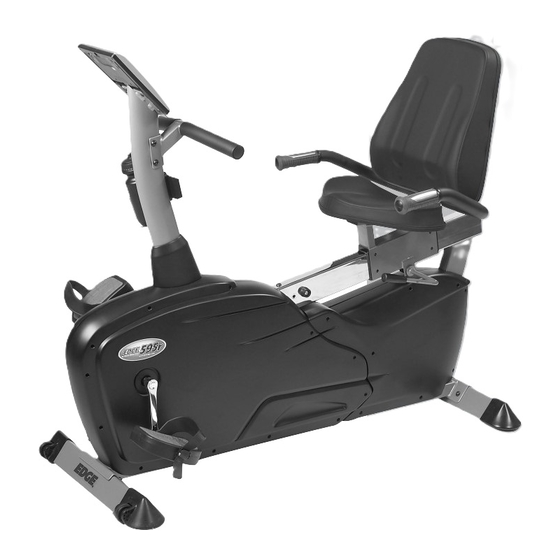
Fitness Quest EDGE 595r Руководство пользователя - Страница 10
Просмотреть онлайн или скачать pdf Руководство пользователя для Велотренажер Fitness Quest EDGE 595r. Fitness Quest EDGE 595r 13 страниц. Fitness quest recumbent bike owner's manual 595r

EXERCISE GUIDELINES
IMPORTANT
Please review this section before you begin exercising.
IMPORTANT:
If you are over 35 and have been inactive
for several years, you should consult your
physician, who may or may not recommend
a graded exercise test.
If you are just beginning your exercise program,
your target heart rate range should be roughly at
60% of your maximum heart rate. As you become
more conditioned (or if you are already in good
cardiovascular shape) you can increase your
target heart rate to 70%-85% of your maximum
heart rate. Remember, your target heart rate is
only a guide.
You should also consult your physician if you
have the following:
• High blood pressure
• High cholesterol
• Asthma
• Heart trouble
• Family history of early stroke or
heart attack deaths
• Frequent dizzy spells
• Extreme breathlessness after mild exertion
• Arthritis or other bone problems
• Severe muscular, ligament or
tendon problems
• Other known or suspected disease
• If you experience any pain or tightness
in your chest, an irregular heartbeat or
shortness of breath, stop exercising
immediately. Consult your physician
before continuing.
• Pregnant
• Balance impairment
• Taking medications that affect heart rate
16
KNOWING THE BASICS
Physical fitness is most easily understood by
examining its components, or "parts".
There is widespread agreement that these
five components comprise the basics of
physical training:
CARDIORESPIRATORY ENDURANCE – the ability
to deliver oxygen and nutrients to tissues, and to
remove wastes, over sustained periods of time.
Using your bike will improve this.
MUSCULAR STRENGTH – the ability of a muscle to
exert force for a brief period of time. Upper-body
strength, for example, can be measured by various
weight-lifting exercises.
MUSCULAR ENDURANCE – the ability of a muscle,
or a group of muscles, to sustain repeated contrac-
tions or to continue applying force against a fixed
object. Push-ups are often used to test endurance
of arm and shoulder muscles.
FLEXIBILITY – the ability to move joints and use
muscles through their full range of motion. The sit-
and-reach test is a good measure of flexibility of
the lower back and backs of the upper legs.
BODY COMPOSITION – often considered a com-
ponent of fitness. It refers to the makeup of the
body in terms of lean mass (muscle, bone, vital
tissue and organs) and fat mass. An optimal ratio of
fat to lean mass is an indication of fitness, and the
right types of exercises will help you decrease body
fat and increase or maintain muscle mass. To help
track your progress we have provided Workout
Progress Charts on page 23.
A COMPLETE EXERCISE PROGRAM
How often, how long and how hard you exercise,
and what kinds of exercises you do should be
determined by what you are trying to accomplish.
Your goals, your present fitness level, age, health,
skills, interest and convenience are among the
factors you should consider. For example, an
athlete training for high-level competition would
follow a different program than a person whose
goals are good health and the ability to meet
work and recreational needs.
Your exercise program should include something
from each of the four basic fitness components
STEP 8 – Attaching Foot Pedals
a) To attach Left Foot Pedal, turn the Pedal
Bolt counter-clockwise until snug.
DO NOT turn clockwise. Doing so
will strip the threads.
b) To attach Right Foot Pedal, turn the
Pedal Bolt clockwise until snug.
DO NOT turn counter-clockwise.
Doing so will strip the threads.
NOTE: The pedals are labeled with stickers
that specifies the Left Pedal and
Right Pedal.
STEP 9 – Attaching the AC Adapter
a) Attach the AC Adapter to the front of
the Main Frame.
b) To turn the unit on, plug the AC Adapter
into a 110 volt socket.
pedal bolt
right foot pedal
left foot pedal
pedal bolt
Figure 8 - Install Foot Pedals
main frame
Figure 9 - Attaching AC Adapter
AC Adapter
9
